Well, my son is a year old now and becoming increasingly picky about the food we try to feed him, so it’s time he starts earning his keep and cooking his own meals! No, not really lol.
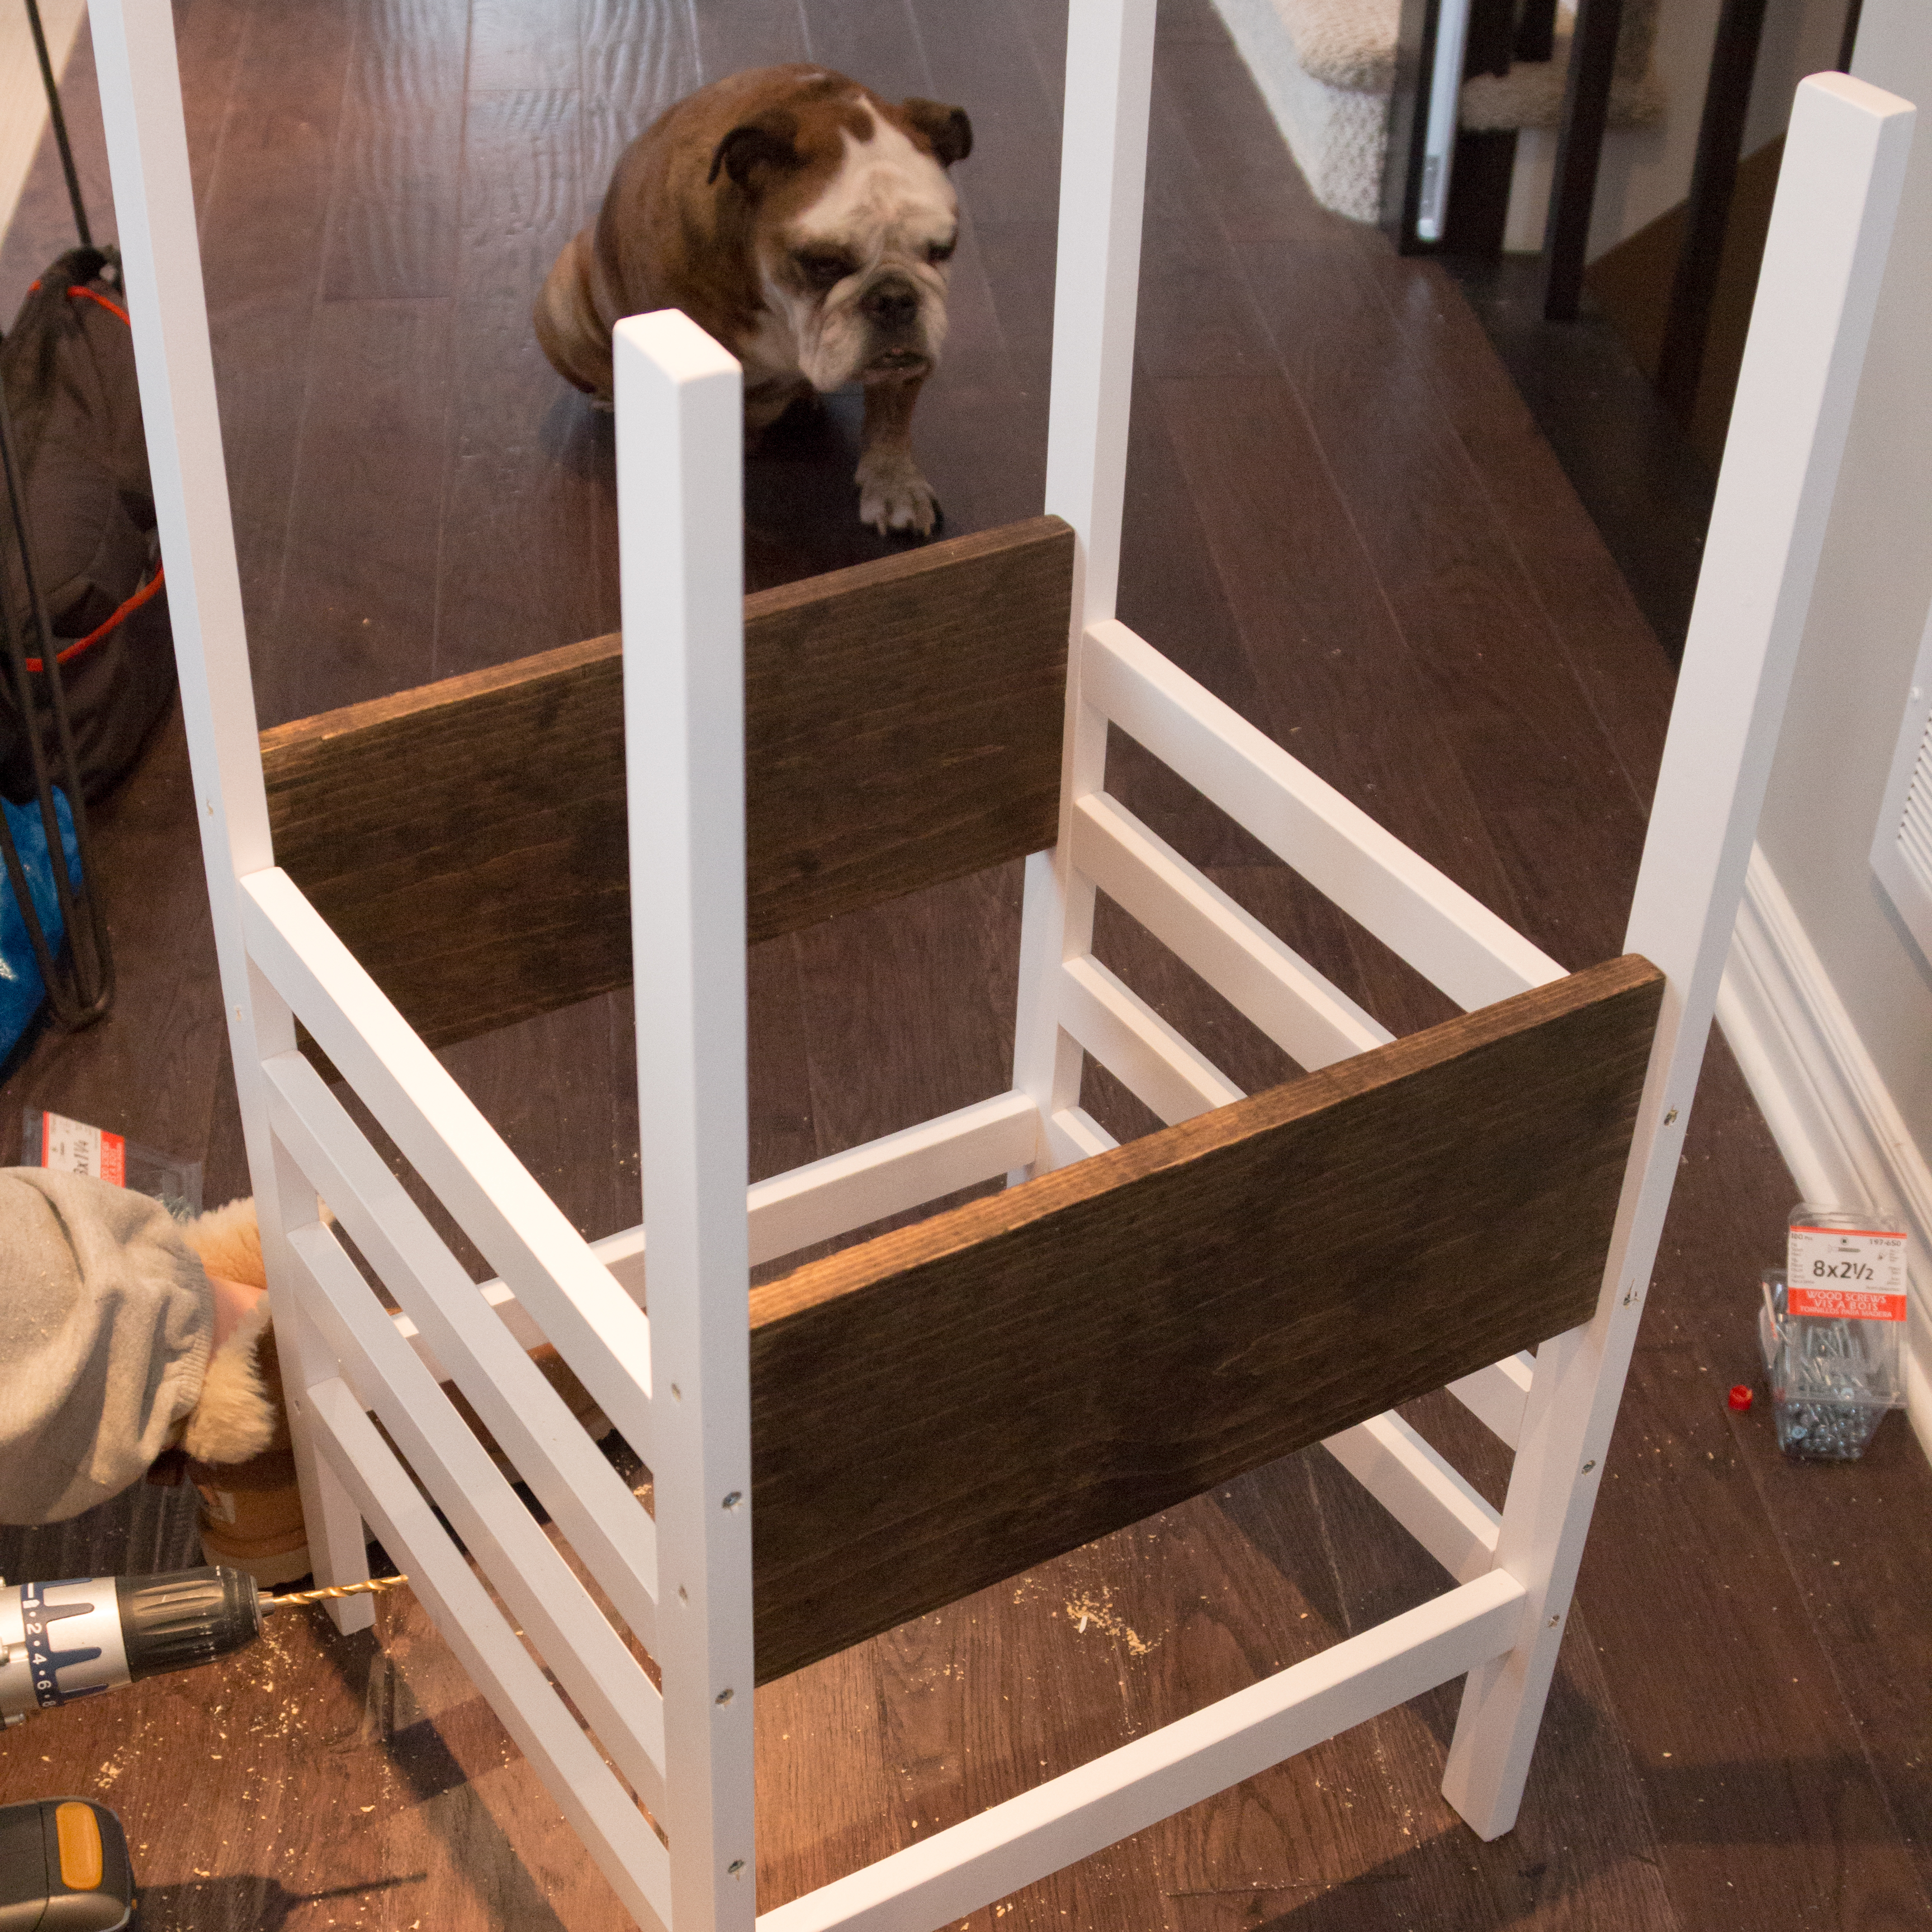
I DO, however, feel a little bad that Caleb is tethered to his lobster chair just at the age when he’s starting to get a little curious about where his food comes from and how it’s made. I could set him up on the floor with some ingredients and tools to play with but the only ones who benefit from that arrangement are my son and bulldog who will both happily swallow anything resembling food (and some things that are very clearly not food). Don’t even get me started on the messes that I’m sure would result from being out of arm’s reach as well. *Shudders*

So the only solution is to get him up to eye level where he can participate yet be safe and contained under a watchful eye. His Daddy and I can also interact and play with him if he’s at counter level! It’s a win/win situation is what I’m trying to say.
So…..to Pinterest!
I’ve actually had this pinned for quite a while as a future project to do, so naturally, I waited until I was supposed to relax to start this. It only took 3 days to finish, though, thanks to Ana’s very simple shopping and cut lists.
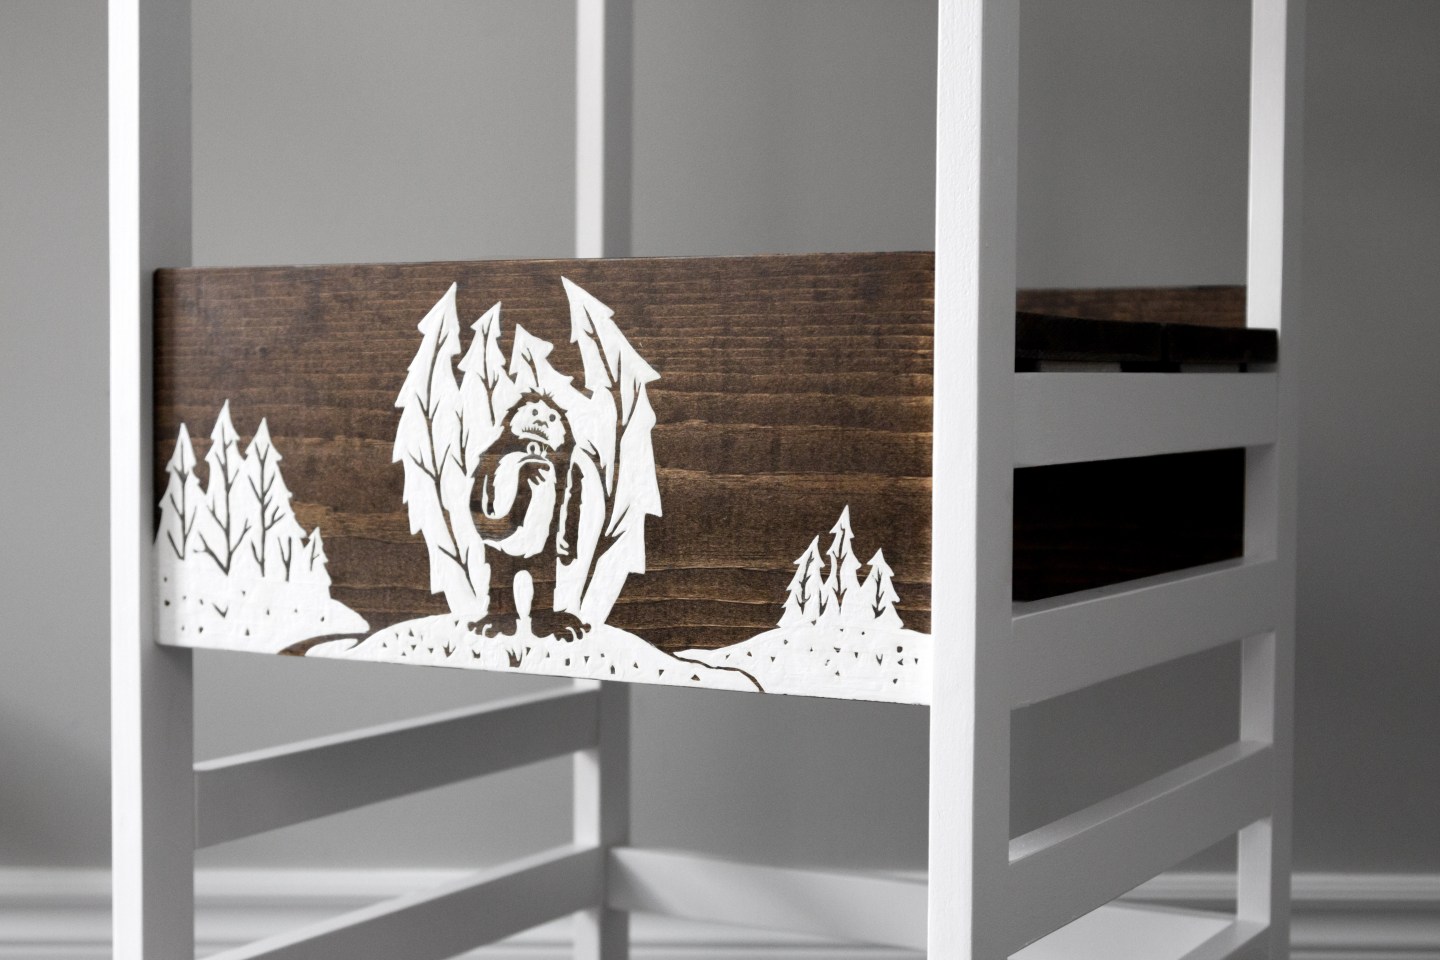
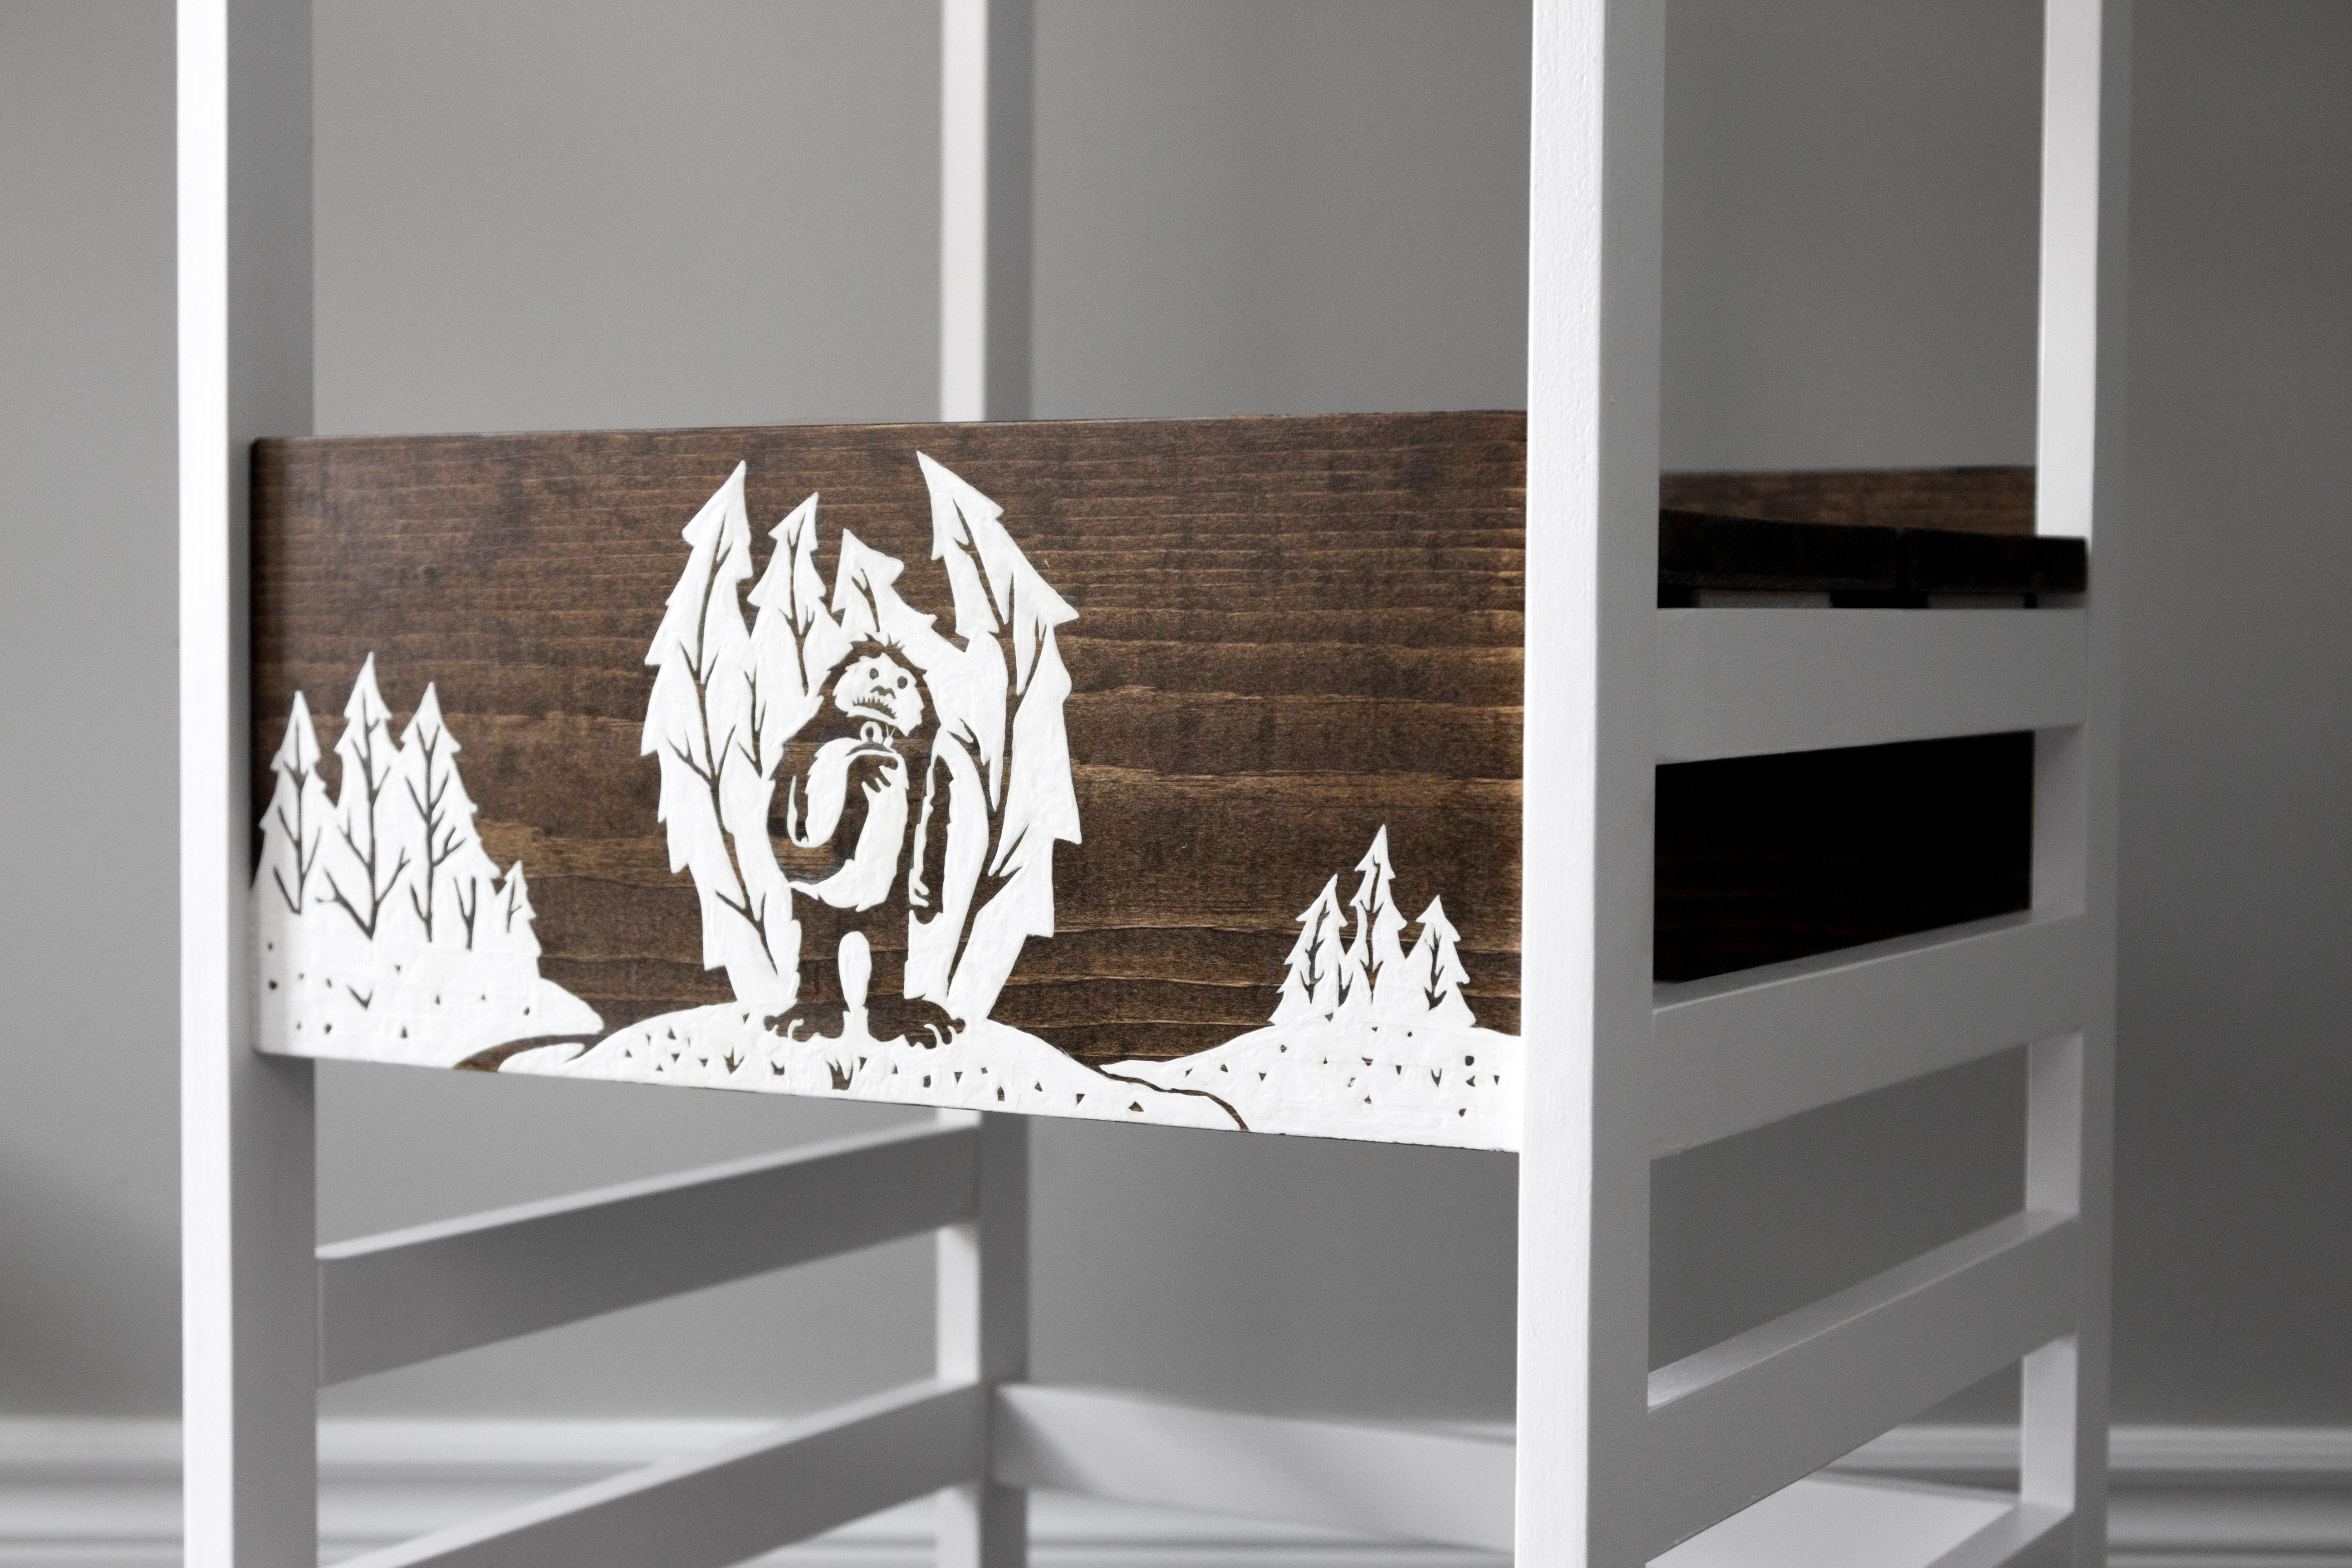
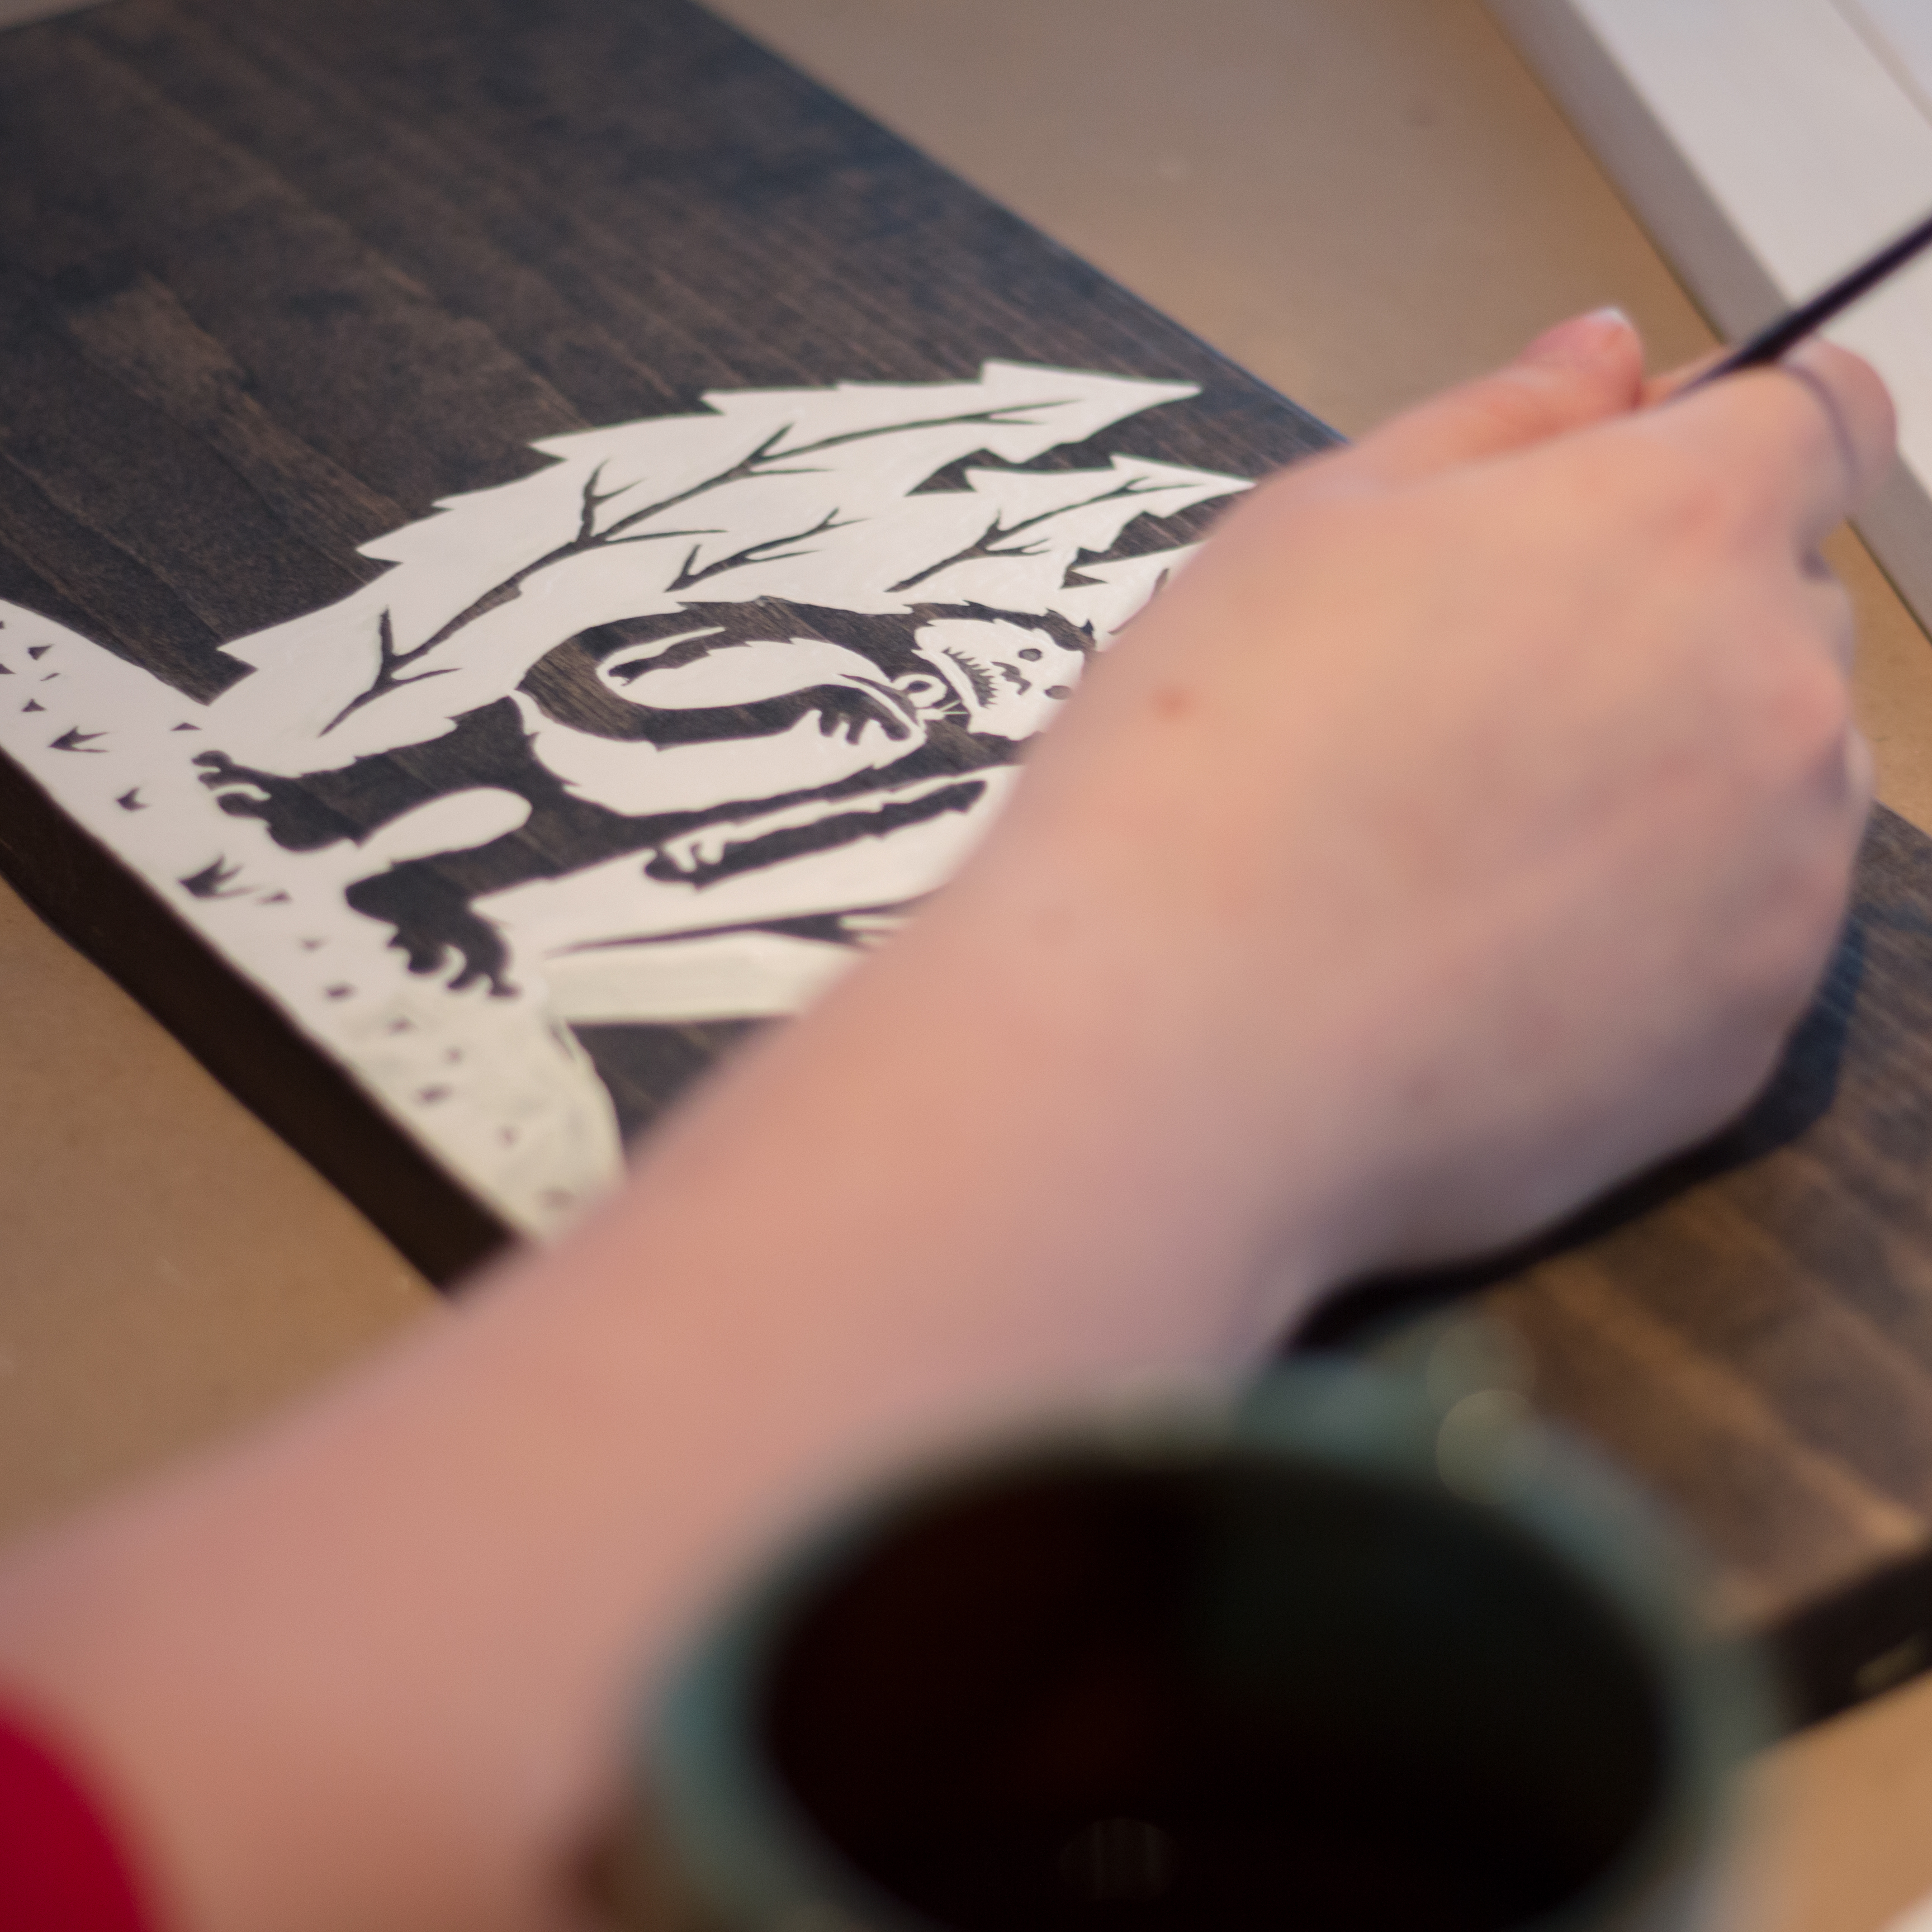
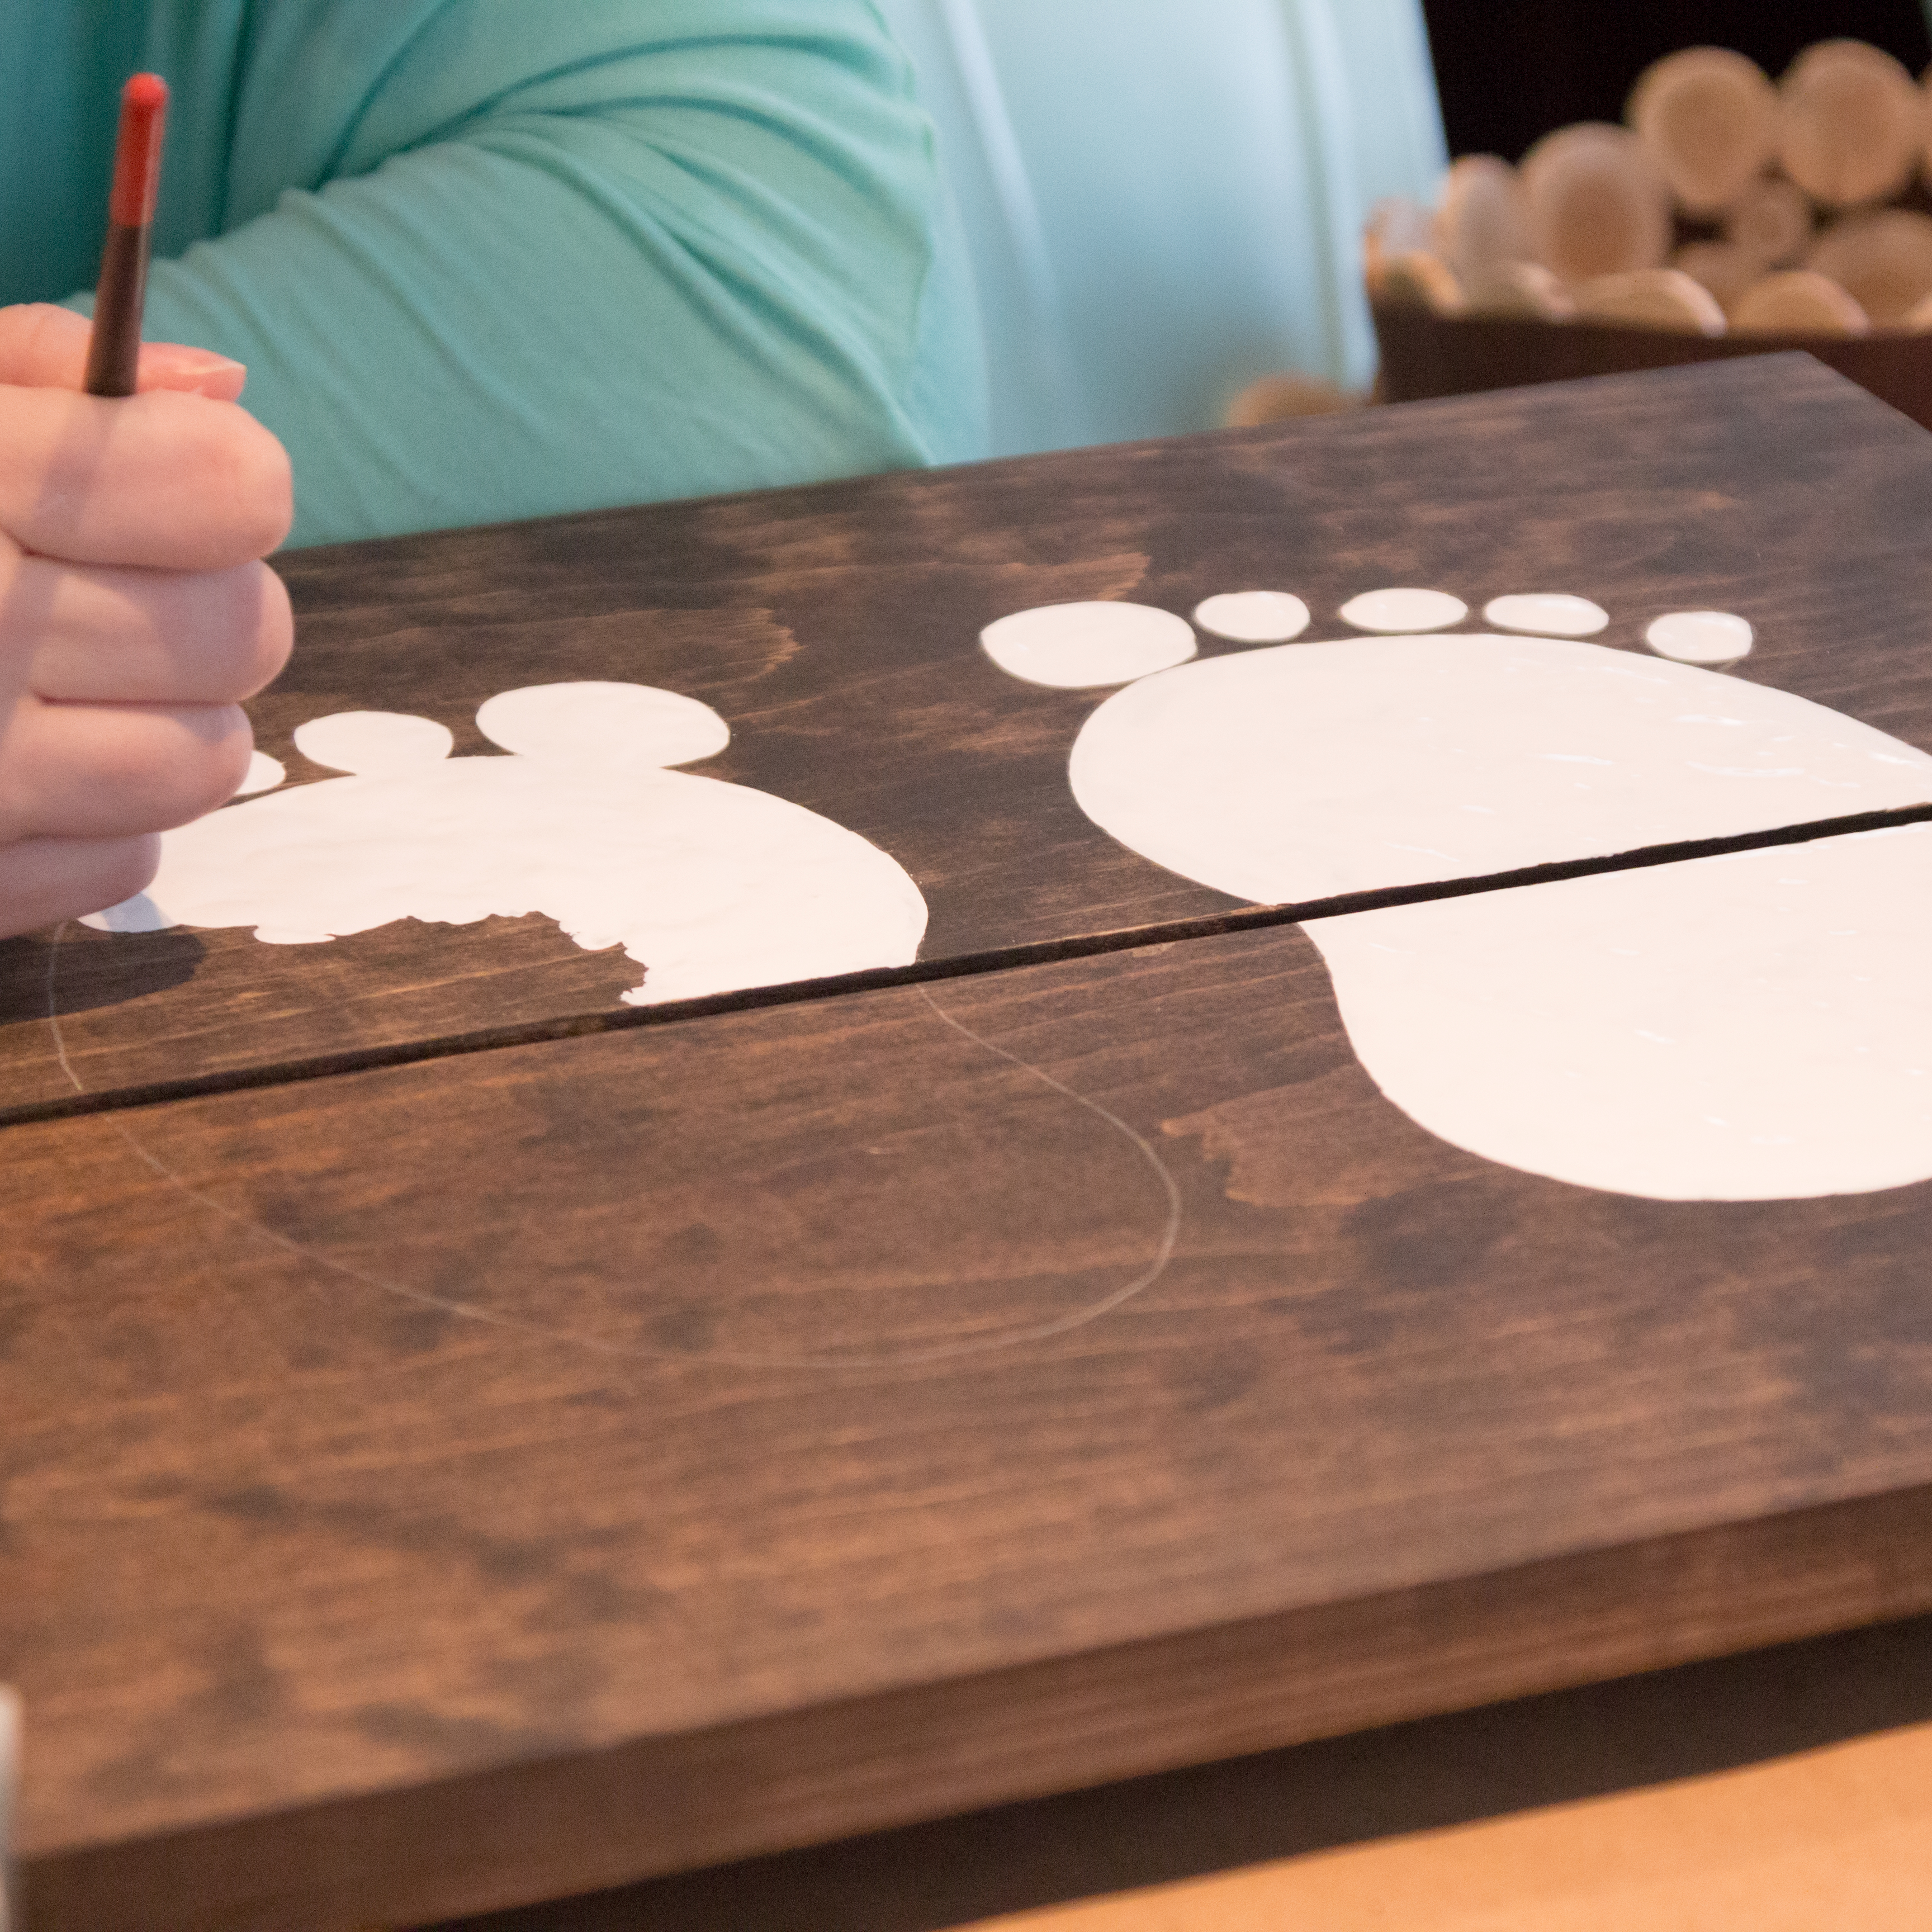
In all seriousness, this was easily the most elegant and functional tower I found on the internet and it does not disappoint! I made a few modifications (in bold below) that included a lower, squarer (?) profile to fit under our counters, a hand painted mural, some stain, and of course some Yeti-your-feet-go-here-footprints on the platform.
My shopping list looked like this:
- 1 – 1×8, 8 feet long
- 4 – 1×2, 8 feet long
- 2 – 1×3, 6 feet long
- 2 1/2″ screws
- 1 1/4″ screws
- wood glue
- wood filler
- white Behr enamel paint
- Minwax dark walnut wood stain
- Minwax polycrylic
- finishing tools
My cut list looked more like this:
- 4 – 1×2 @ 34 1/2″ (Legs)
- 8 – 1×2 @ 15″ (Ladder rungs)
- 2 – 1×3 @ 15″ (Sides)
- 2 – 1×8 @ 16 1/2″ (Front and Back Sides)
- 2 – 1×8 @ 18″ (Platform)
- 2 – 1×2 @ 15″ (Platform Supports)
- 2 – 1×2 @ 16 1/2″ (Bottom Supports)
- 2 – 1×3 @ 16 1/2″ (Top Supports)
- 2 – 1×3 @ 24″ (Tip Resistors)
- 4 – 1×3 @ 3″ (Tip Resistors)
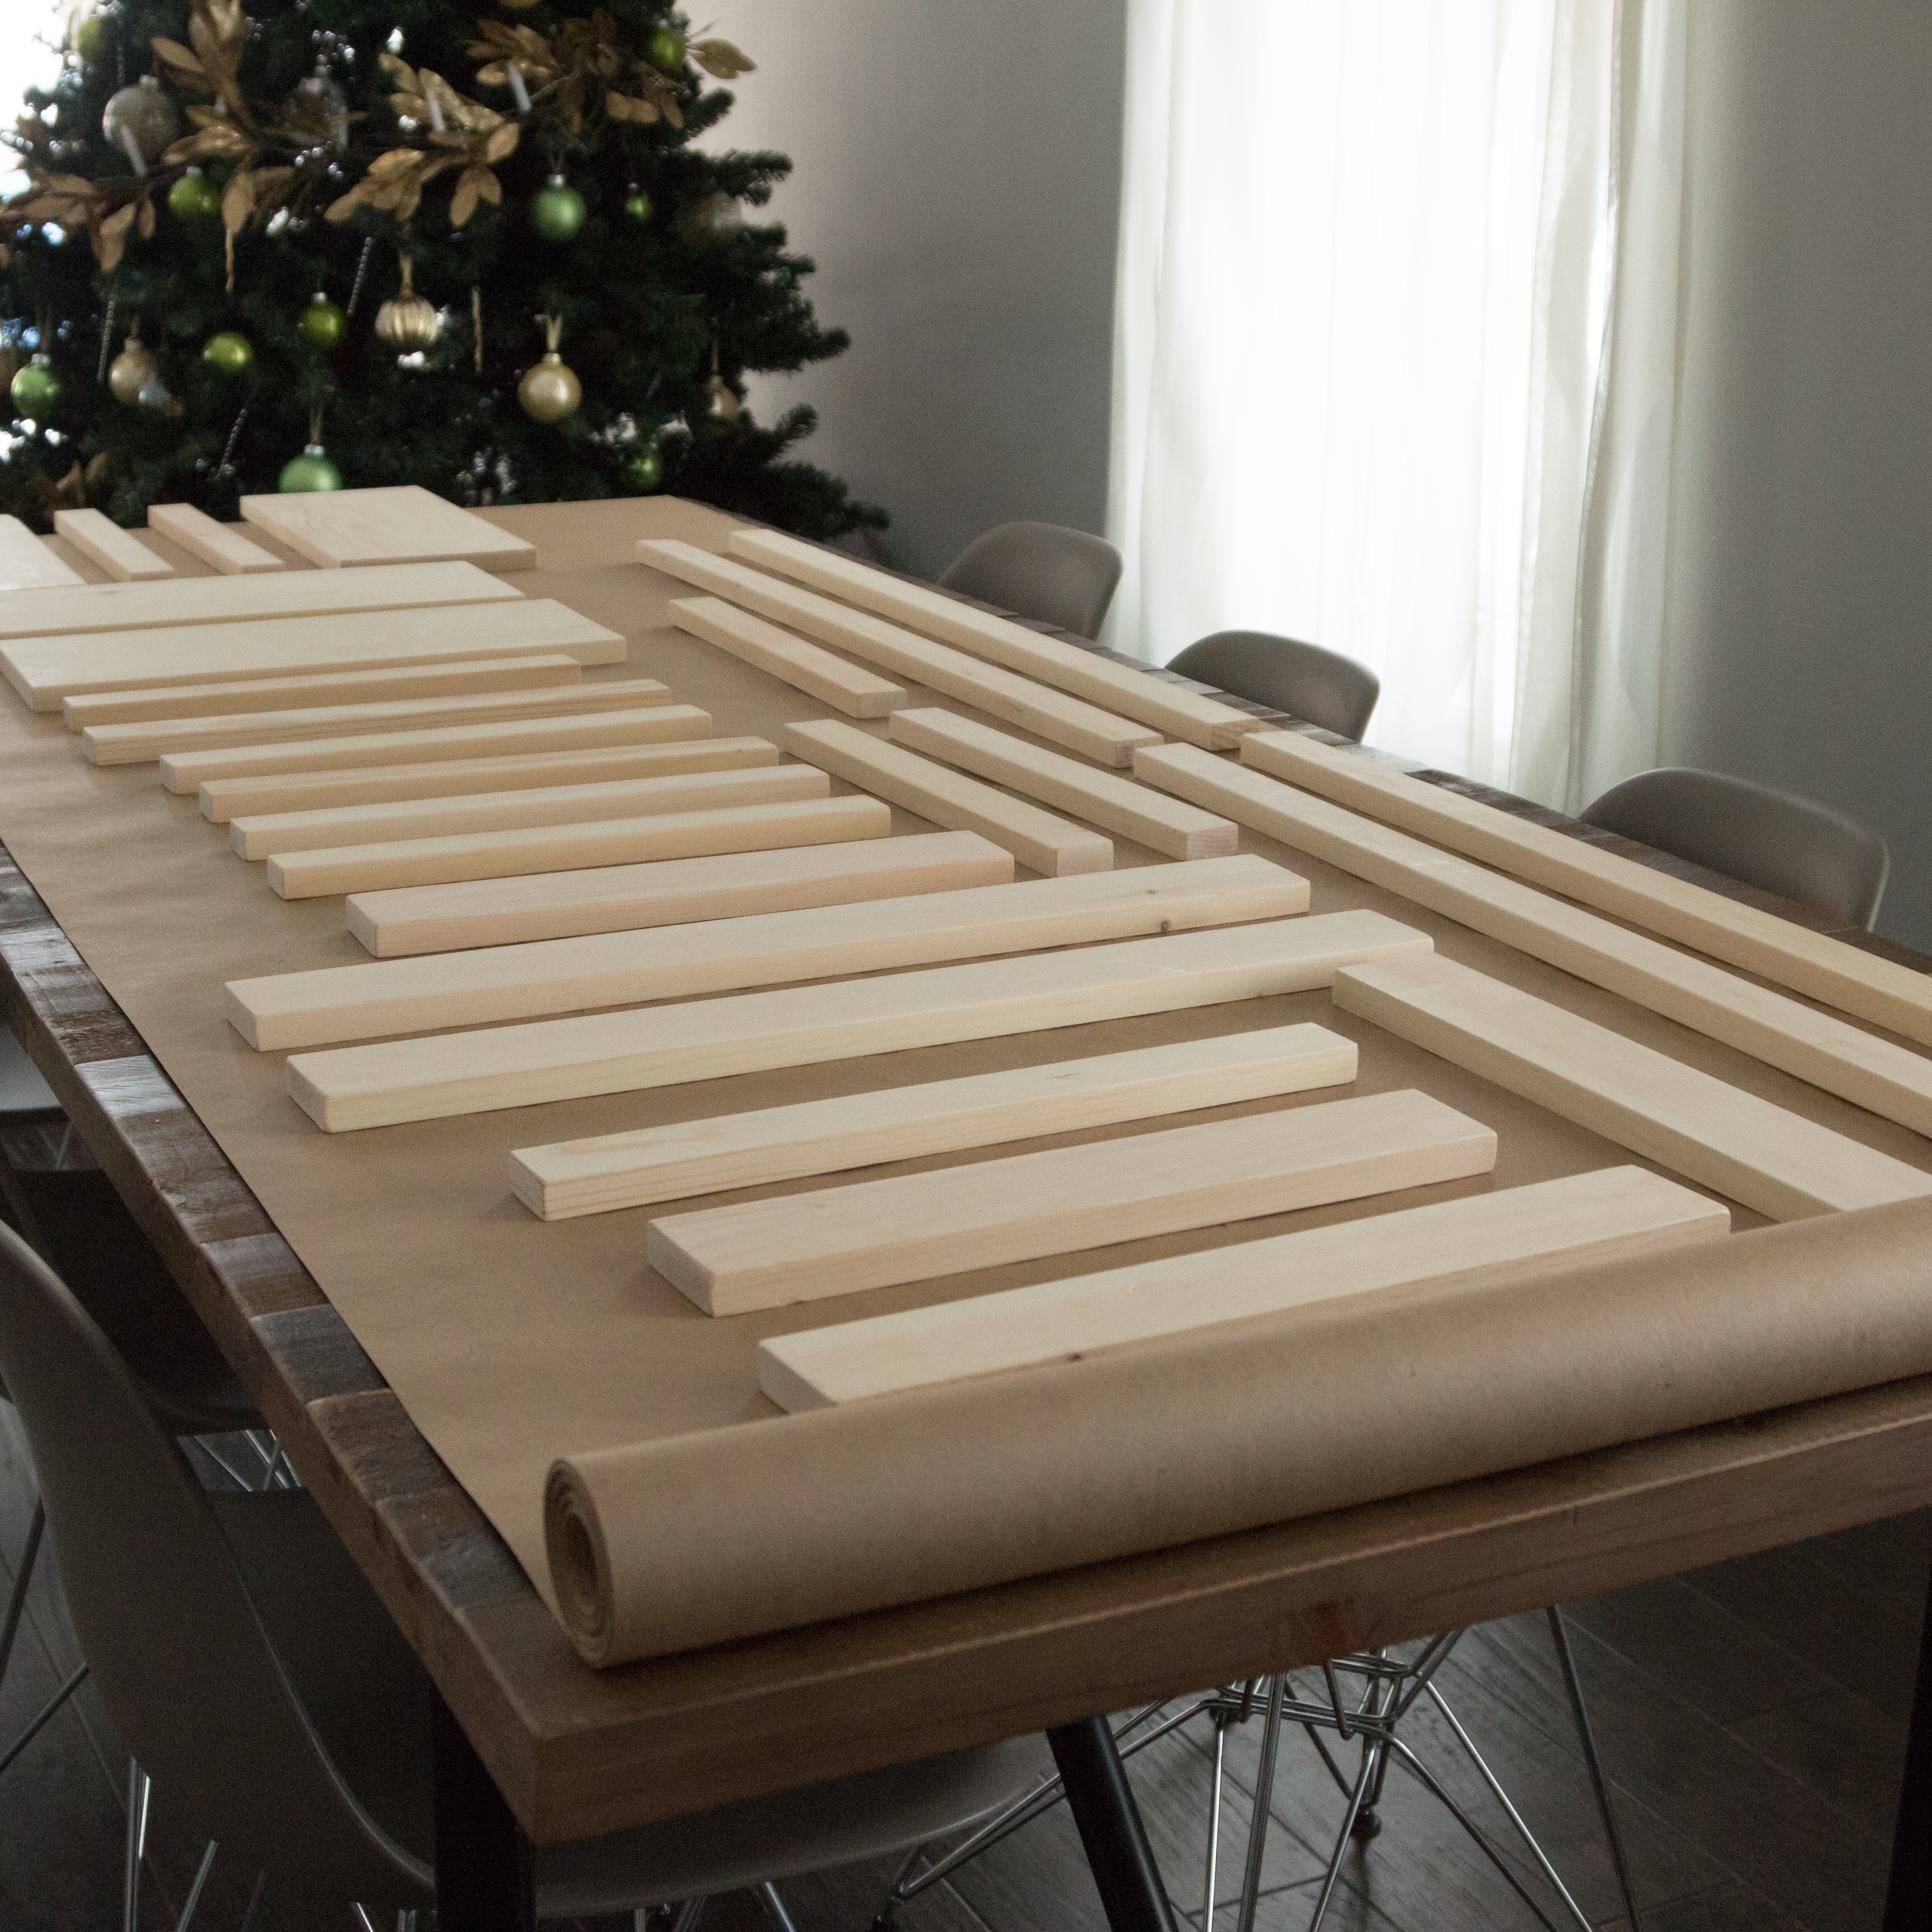
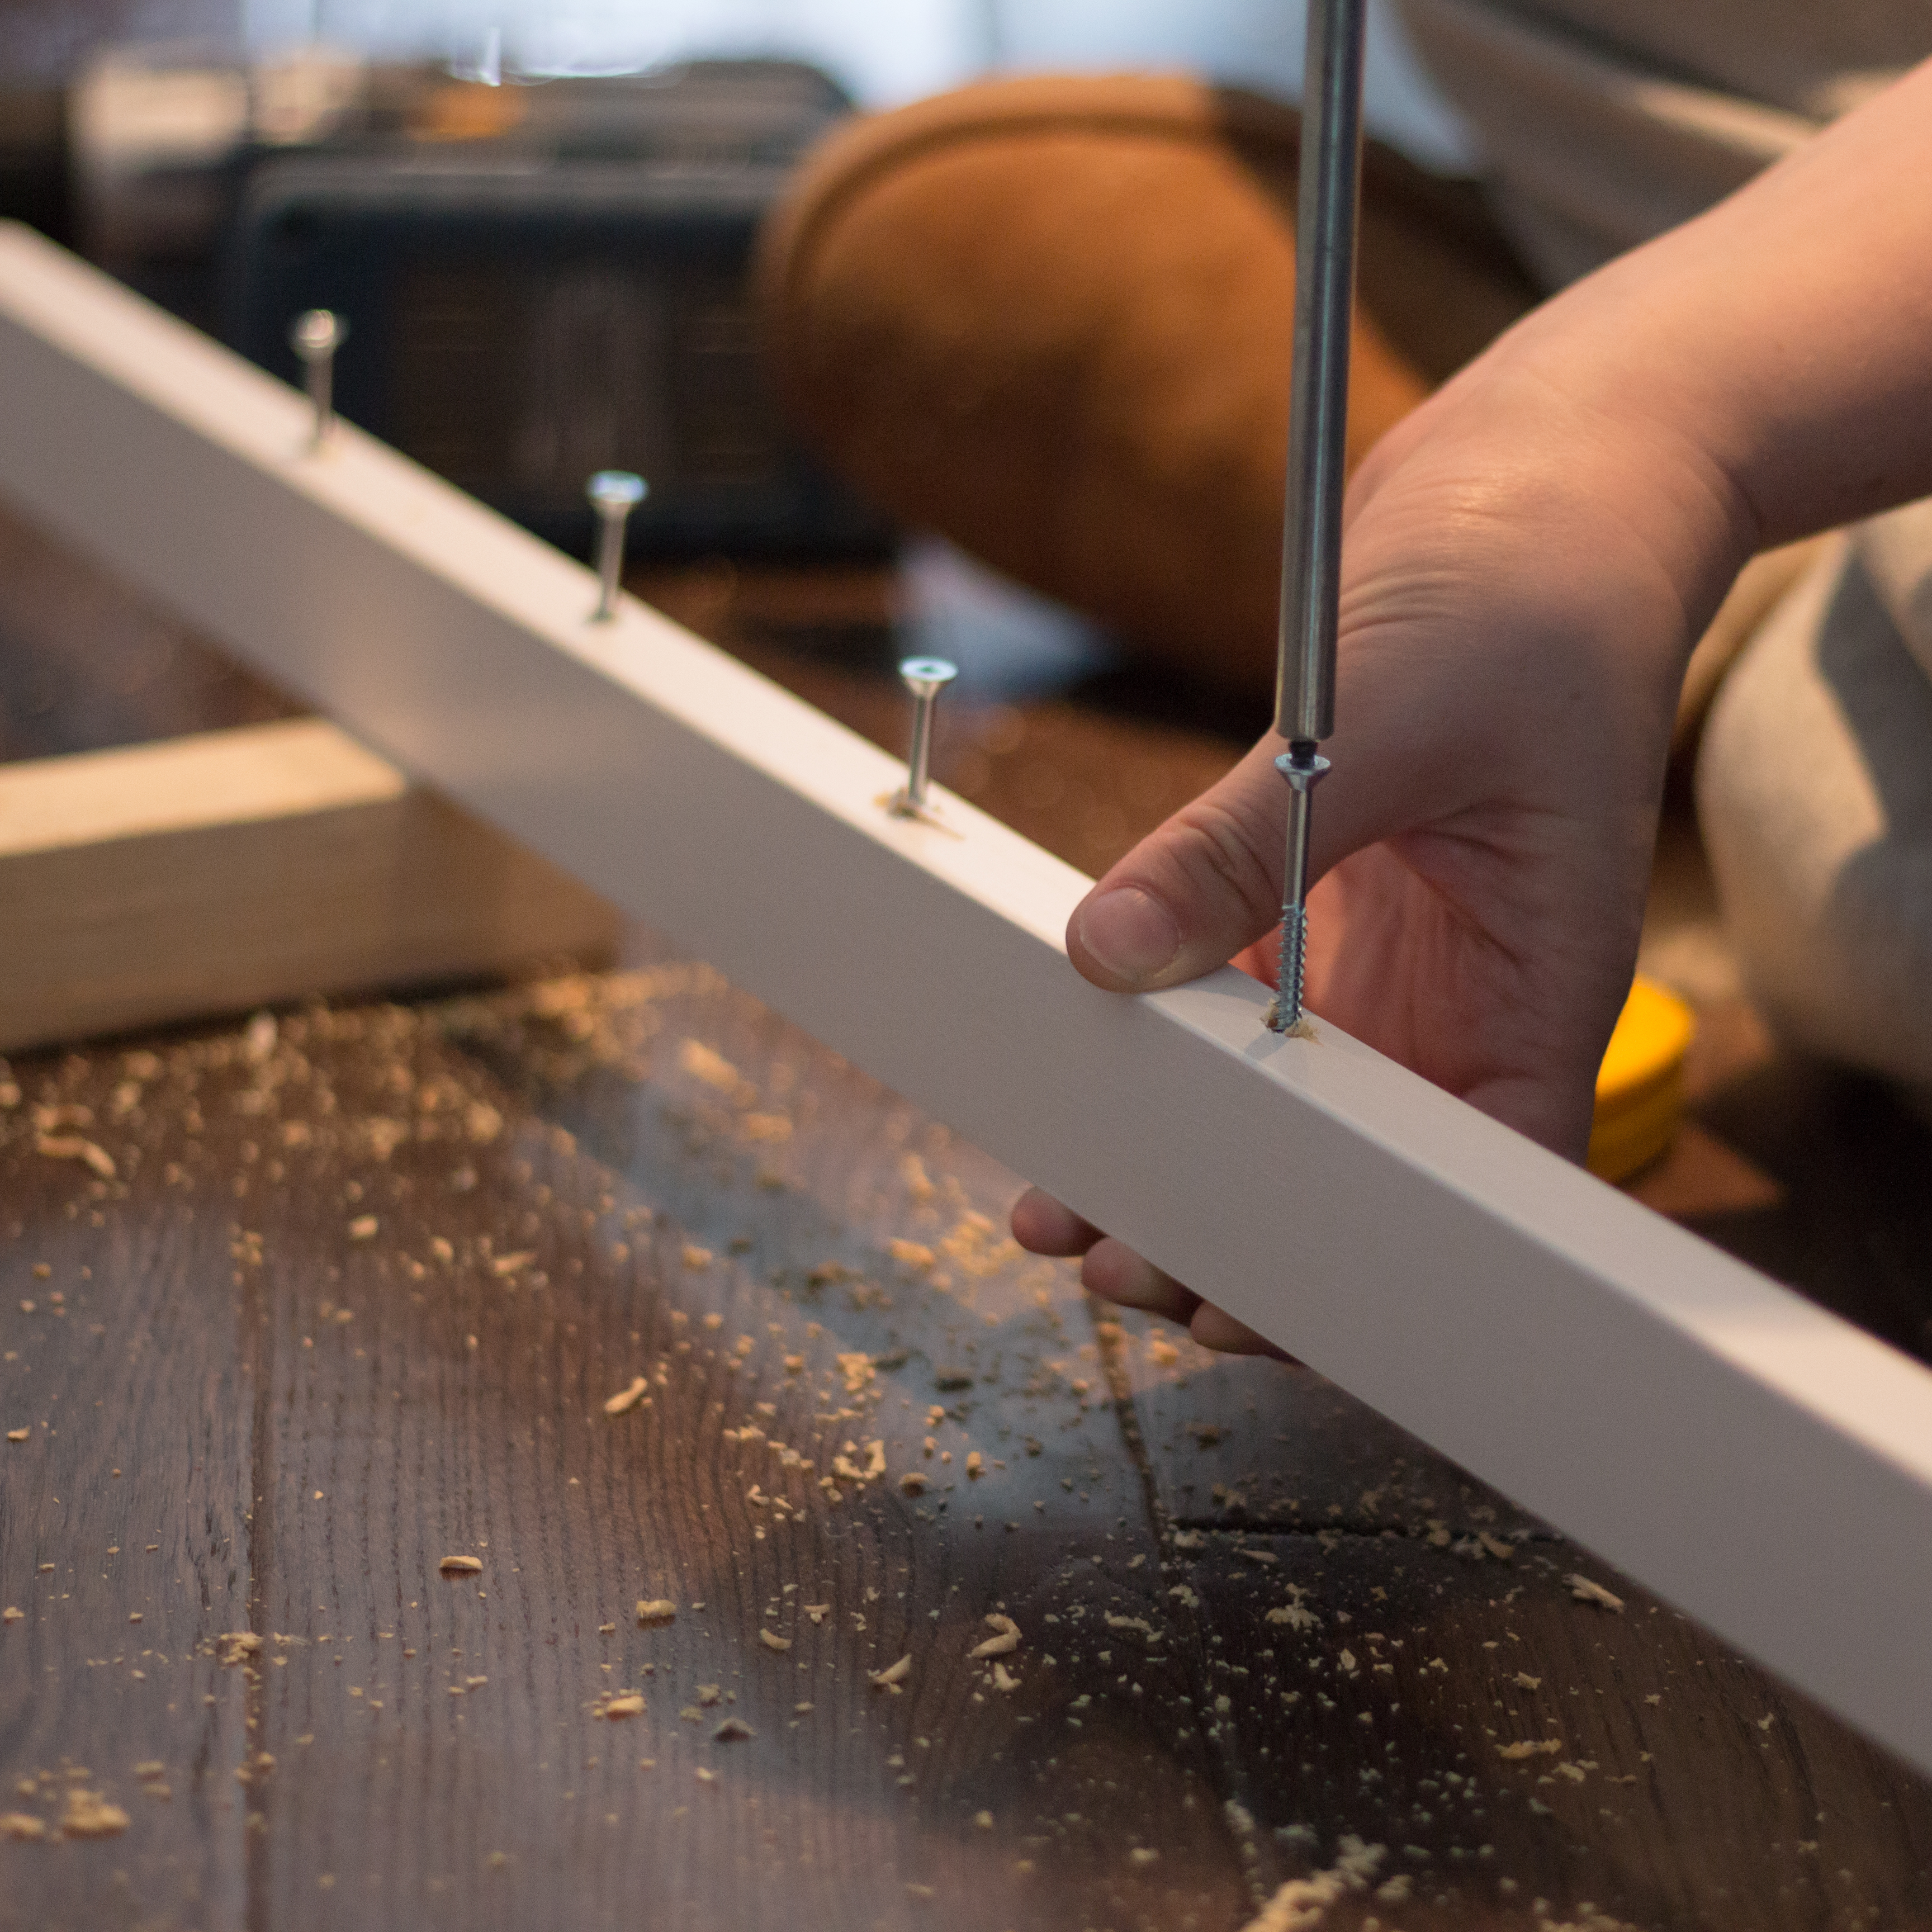
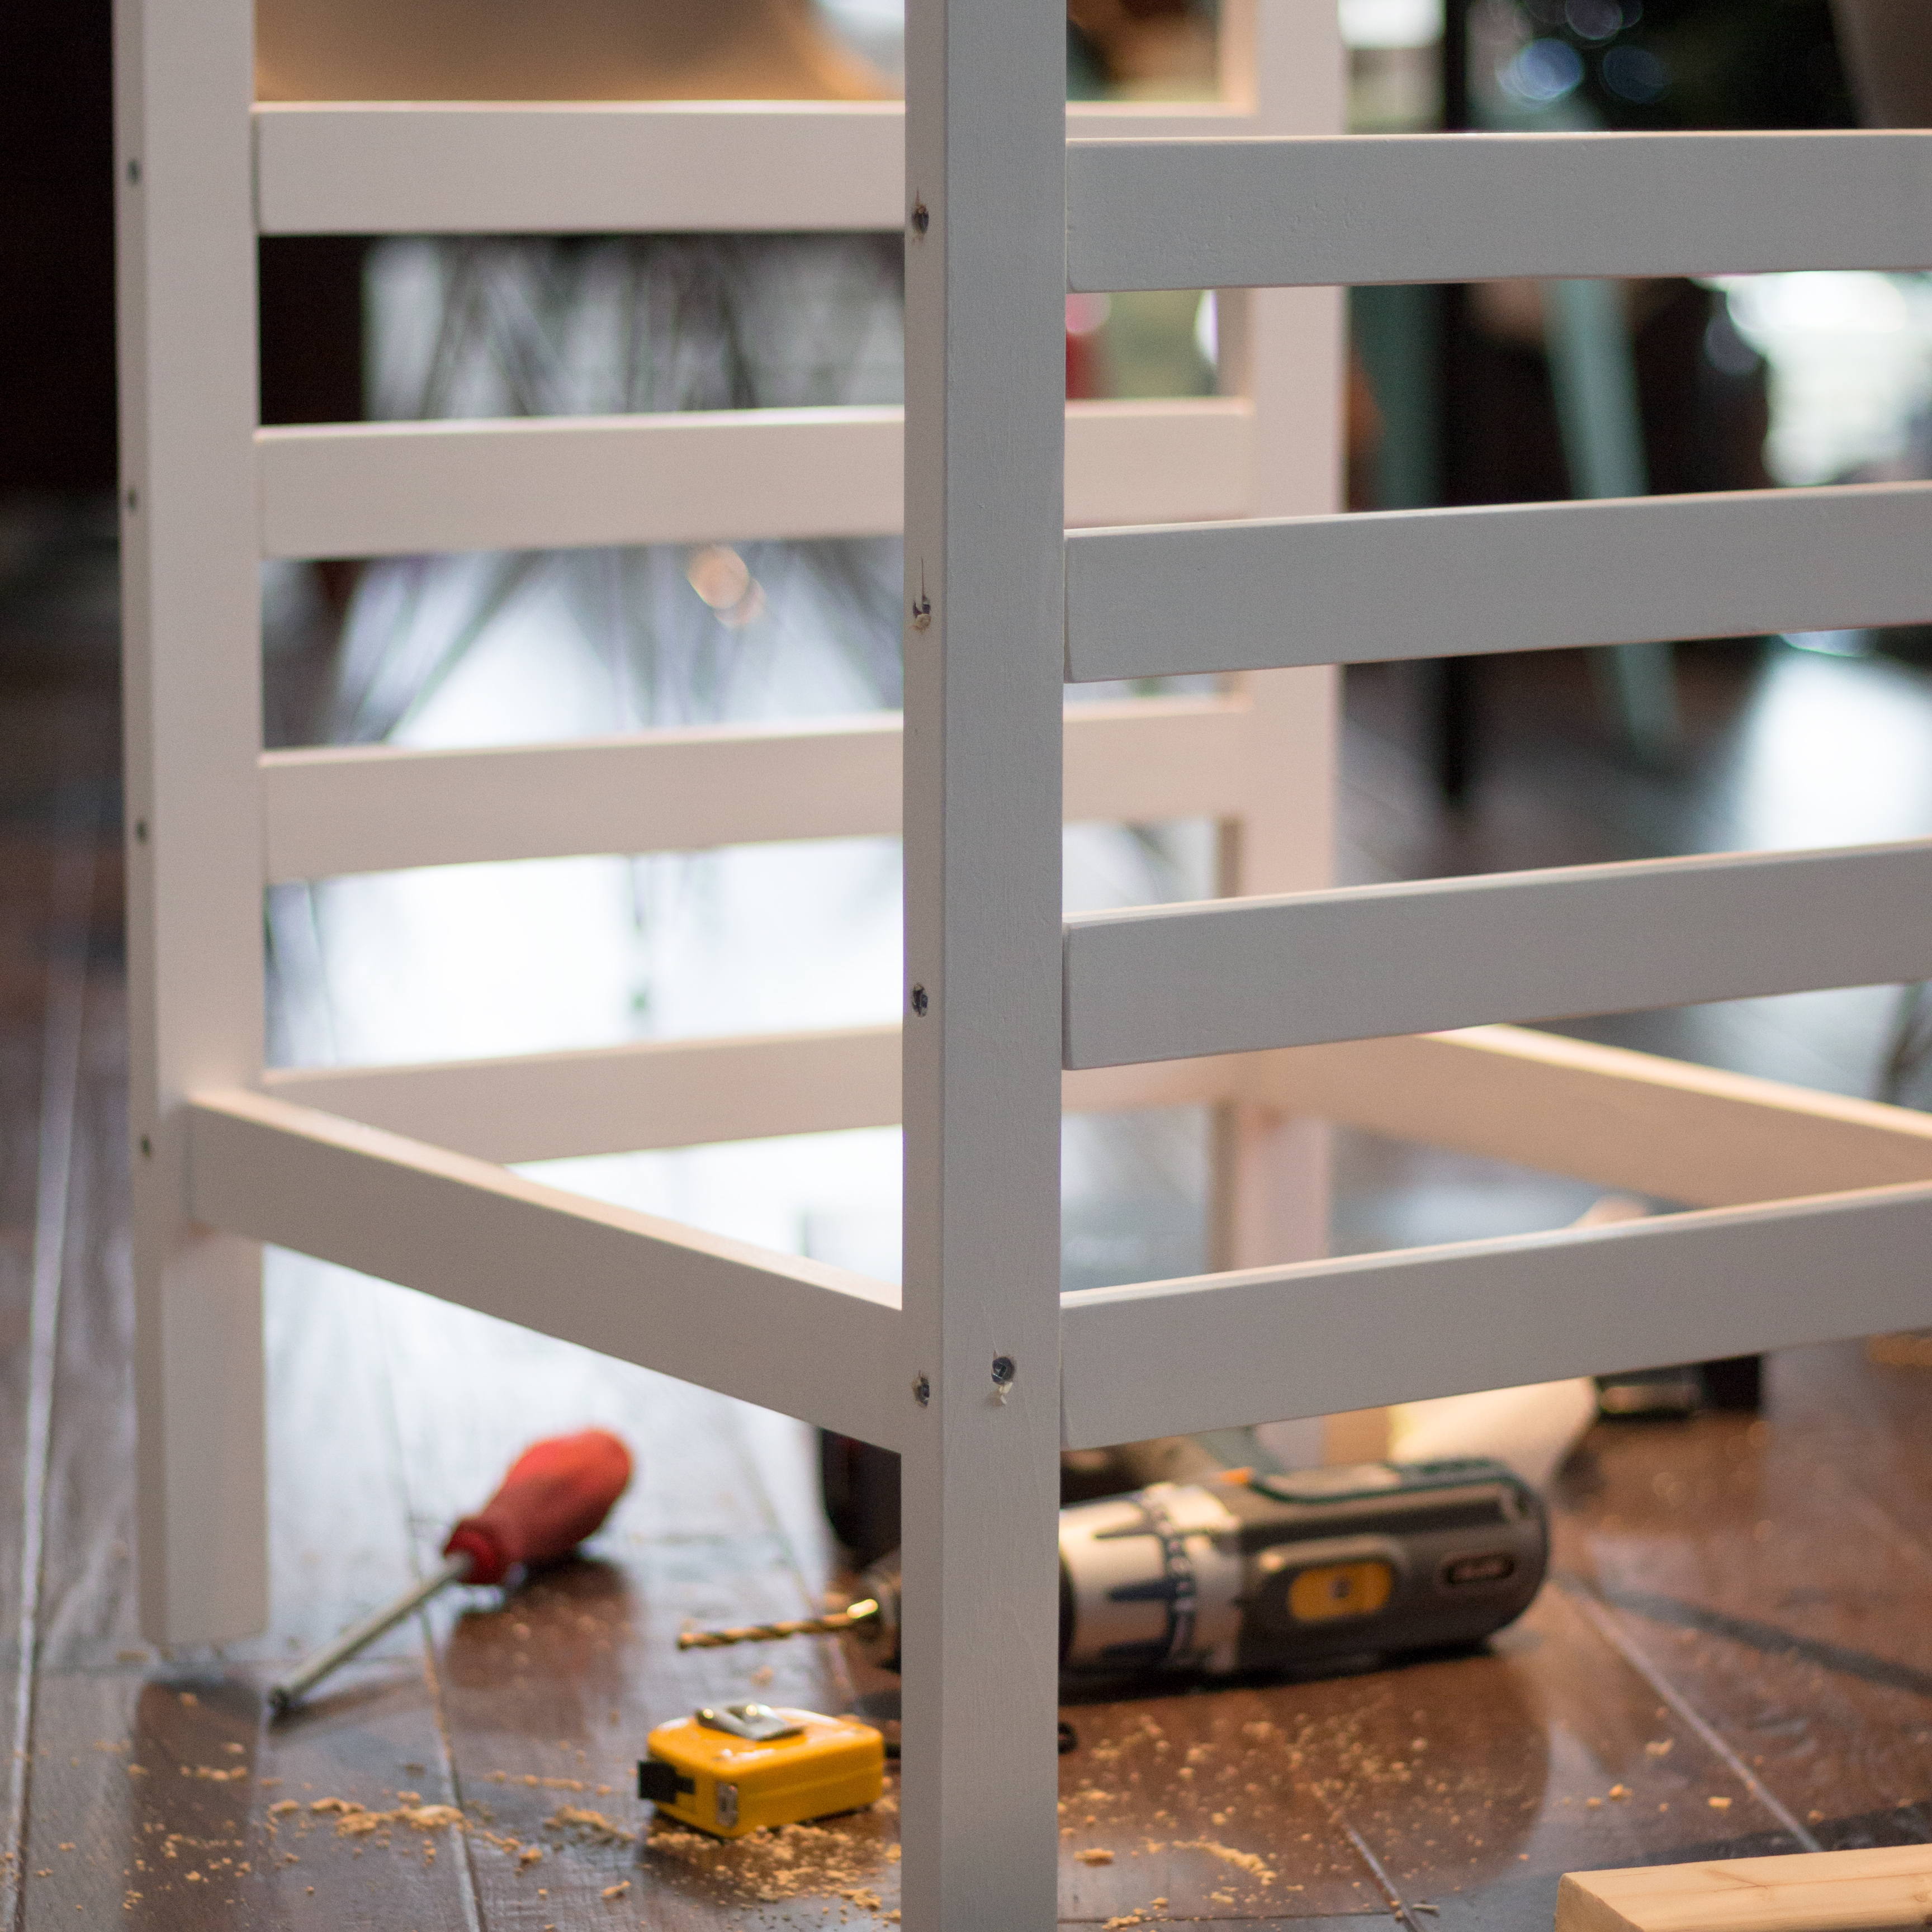
I cut all my pieces and pre-painted everything to make life a bit easier. I counter-sunk all my screws so I could go behind and fill all the screw holes, give it a good sanding and a coat of paint and polycrylic for a nice smooth, durable finish. Other than that, I followed Ana’s instructions to the letter. She wrote that she had been contemplating its design for a year, and it definitely shows. It’s greatest features are an adjustable platform to grow with your child (HUGE bonus!), a very solid, yet light construction, and best of all, a tip resistant kit for added security!
As soon as the paint was dry, I set my son and the tower up at the counter. His little face lit up with delight at all the new details and things to see. He instantly started looking at everything with swift little back glances at me that said “Really, Mommy?! I can stand here?!” Totally worth it!

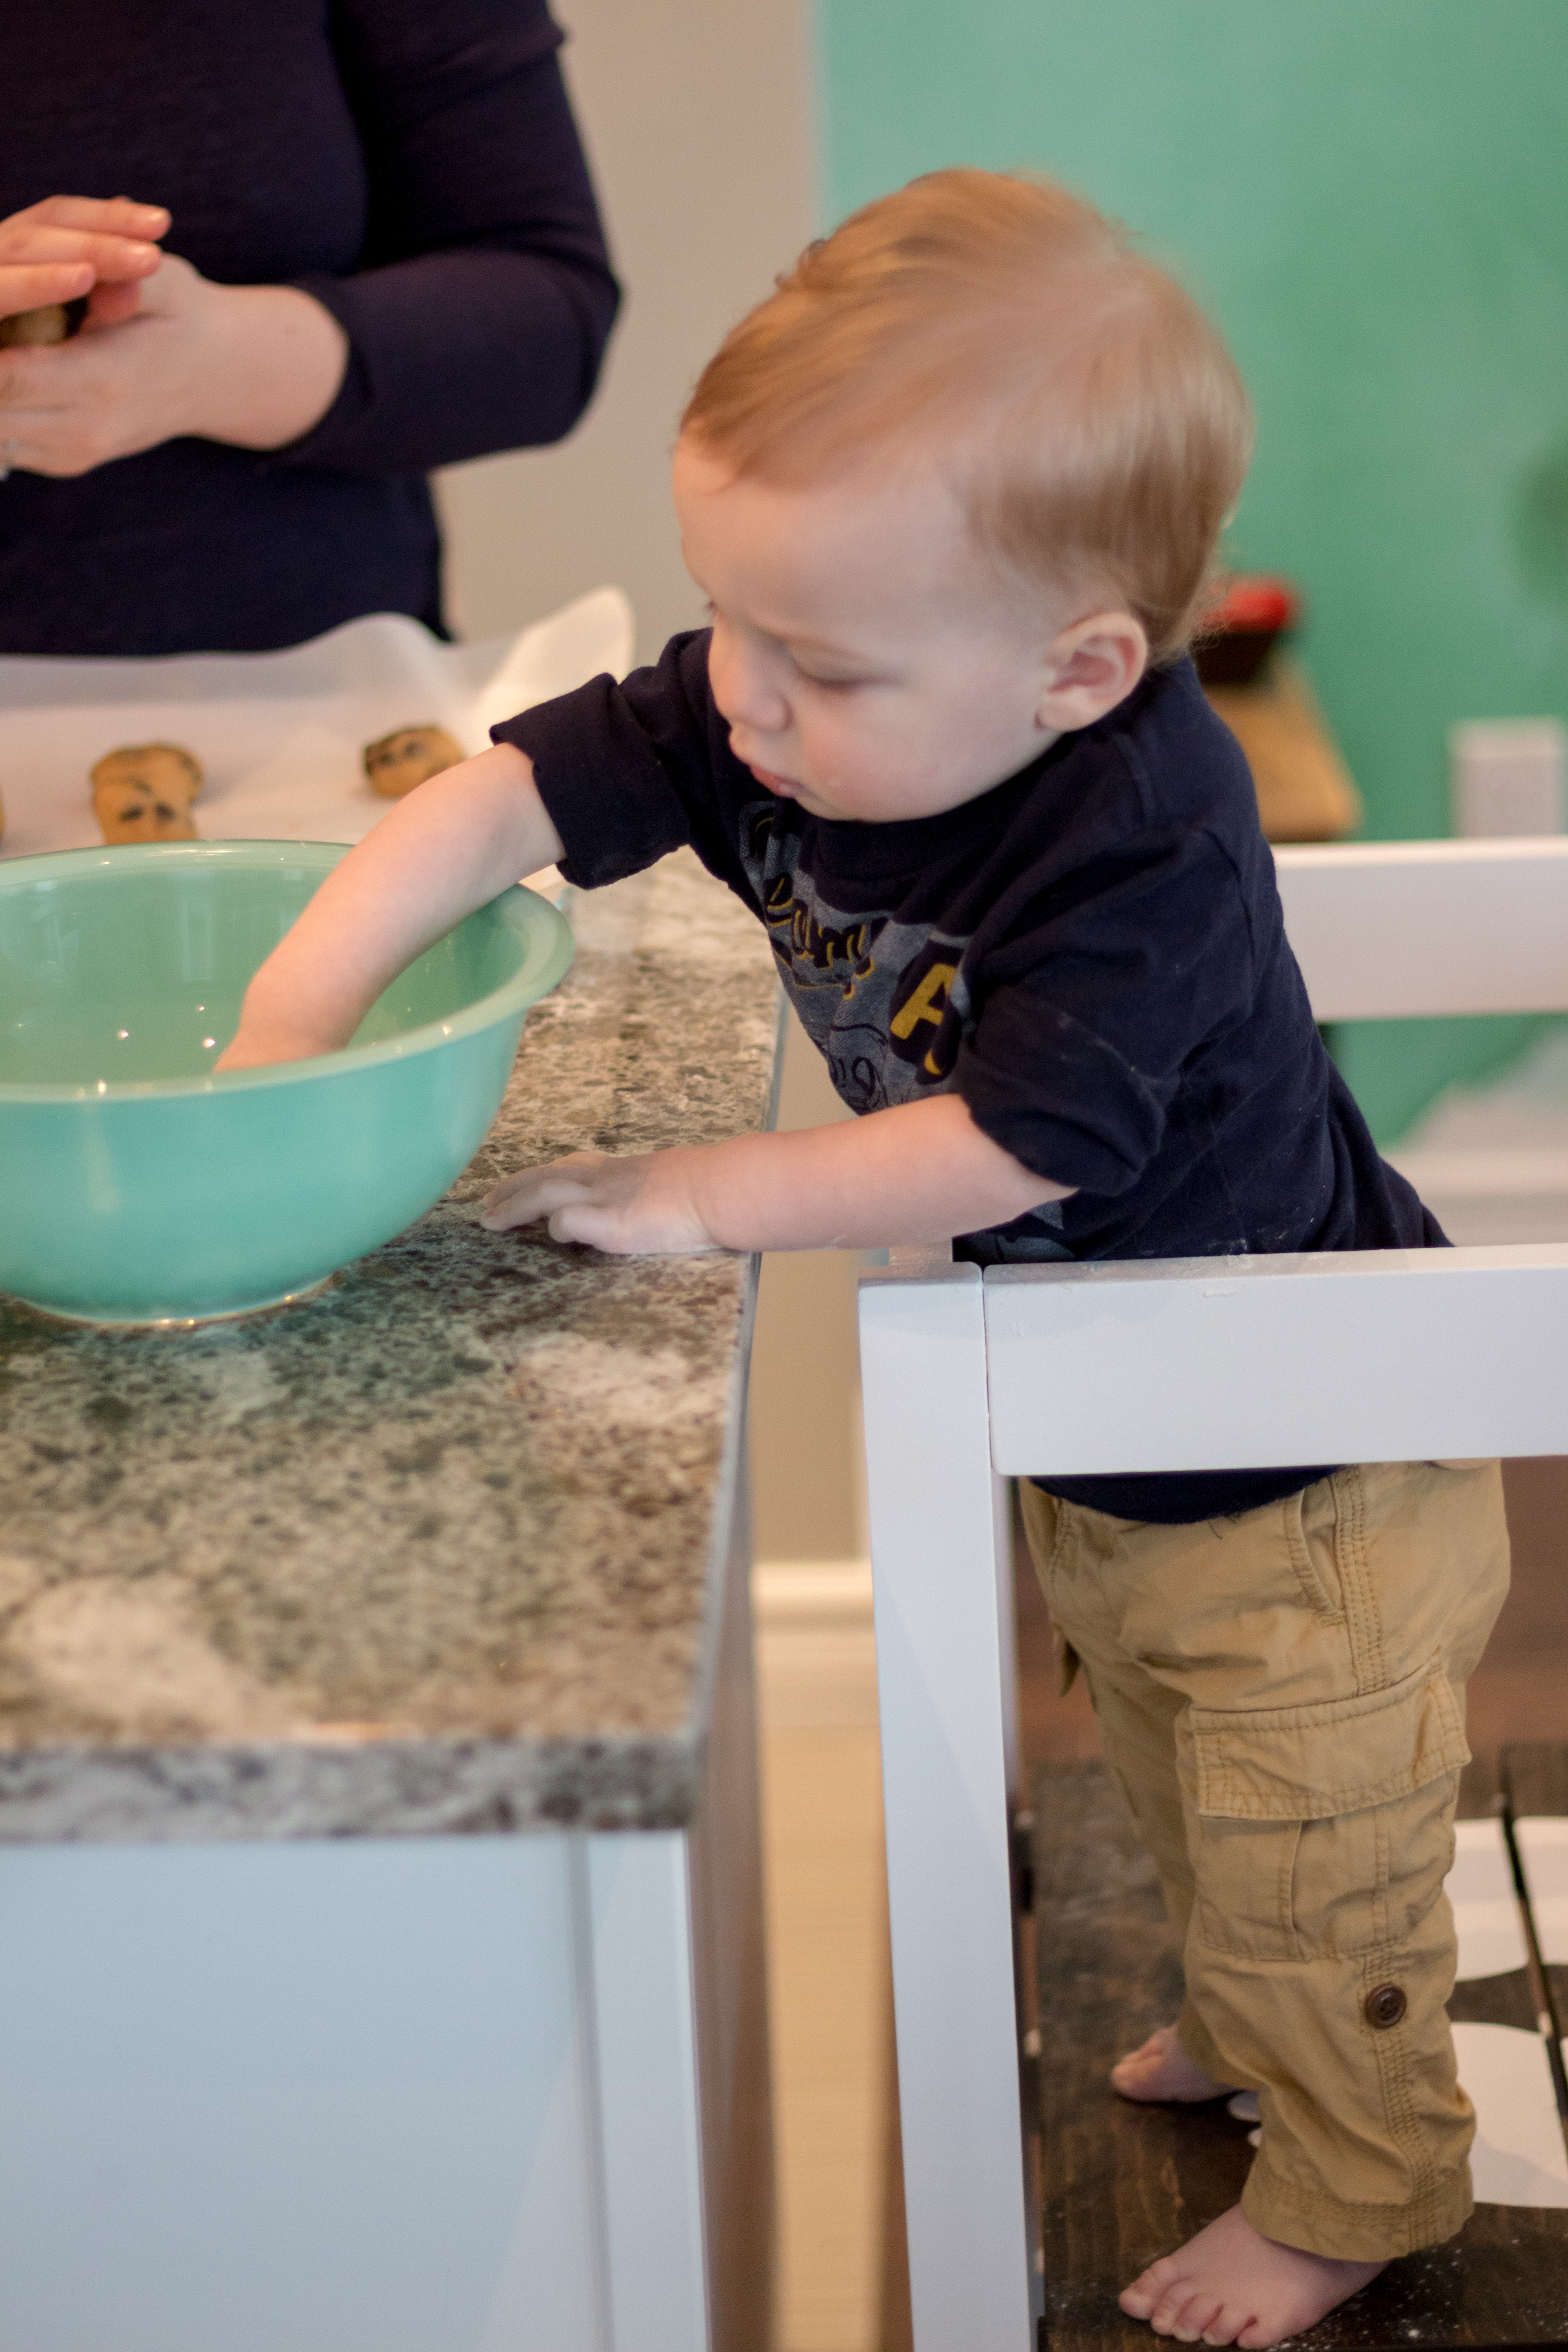
I’m sure it will be more clean-up to have him at the counter. A hindrance more than a help as the title implies but he’ll be having fun with whatever we are doing and that’s all that matters, right?!


2 comments