So my MAT leave ends in a little over 2 weeks *gulp and since my attempts to craft for a living are failing, I have to start banging out projects and simultaneously sorting ideas to the back burner before I start back to work. So…
Today’s project: Painting my tent flaps for the Tee Pee bed. I have been working on this one for a while since I may have started entirely over once already (due entirely to my lack of sewing skills….I’m learning). But I’m happy to report that this version has made it to the fabric paint stage; a step I’ve been chewing my cheek over.


I’ve never fabric painted anything before (well, since the 80’s but that was an entirely different thing, this isn’t neon puffy paint). But armed with only my knowledge of painting walls and grass on beds, needless to say, I was a bit nervous. I have had a hate hate relationship with painters tape, bleeding paint and irreversible mistakes so sticking a stencil on an uneven surface and expecting perfect results was a little out of my realm of possibility. I was wrong though.
Now before I jump into the kumbaya that is my results, I gotta say, it started off pretty rocky. After designing my pattern, I headed to Michael’s to pick up my supplies. Armed with my fabric paint, I headed over to the stencil aisle to find the only ‘make your own stencil’ option was trusty ol Martha Stewart’s. So, channeling her confidence, I swiped up a roll (there should have been my first clue) and a pack of her foam pouncers and headed to the cash. So excited to get started, I race home and tear into the package to start making my stencils before project ADD sets in and to my dismay I can’t get the damned things to lay flat. I ironed them, I took a blow dryer to them while curled the opposite way, I watched tutorials, I laid them under my sizable stack of Food & Drink magazines FOR 2 DAYS! I leapt out of bed on the second day to see my nice flat stencils ready to be worked but as soon as the weight was lifted, they literally sprung 4 feet into the air and back into the tight roll they came in, as if nothing happened. Martha, you let me down. I think you had one too many mimosas at brunch the day those were placed under your nose for your blessing. Regardless, TO AMAZON! A bit of research, a prime account, some flat stencils and I was back in business a day later.


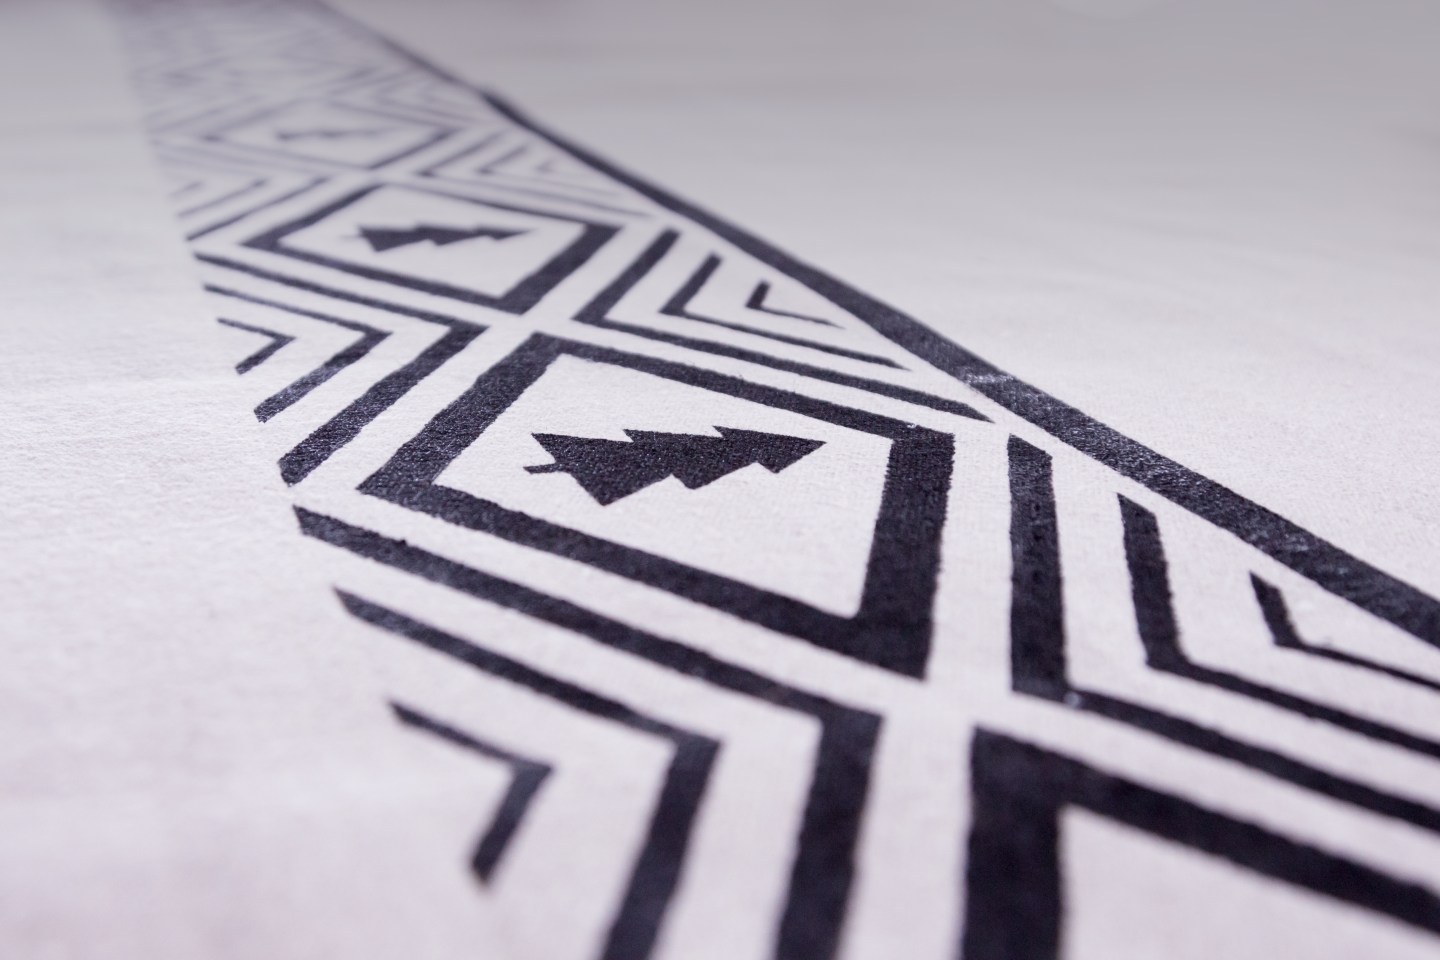
I was almost in tears at how beautiful, quick and easy it was to paint this. I’ve had no unfortunate mistakes or mishaps so far. All I do is tape the edges of my stencil to the fabric, load the pouncer with paint and work in a straight up and down motion so the paint doesn’t squish under the stencil. I wash and dry the stencil every 3 or so uses so as not to get any paint transfer on my fabric. That’s it! No magic or special secrets, it’s really that simple. I can’t say many things have been this easy heh. It’s going to look fabulous once it’s done and because I went simple with black paint, it should stand the test of time and flow with whatever decor my son wants in the future!
I’m not finished yet but I was excited to share and C is napping now so this is my chance to post lol. I’ll have a full post on the covers once they’re finished. The only con is, now my fabric painting project ideas have multiplied: Santa sacks, advent garlands, Christmas tights, baby onsies, wall art, holiday pillow covers, holiday fabric napkins…..


Looks amazing so far – I would have had the paint everywhere!
LikeLike
Well done, yet again Sarah!
LikeLike