
This style of bed is pretty trendy right now and it’s not hard to fall in love with such a cute bed that fits any decor. It makes a great transition bed since it’s close to the floor, it’s nice and open so parents can climb in too for snuggles and gives your child some freedom and independence in their own space. The one problem I have with this type of bed is the price tag. I’ve seen these priced anywhere from $500 (for a basic house frame) upwards of $2000. Sure some of them are outfitted with trundles or drawers but no matter how you cut it, it’s WAY cheaper to build. This bed was $300 all-in to build and about 4 solid days worth of work.
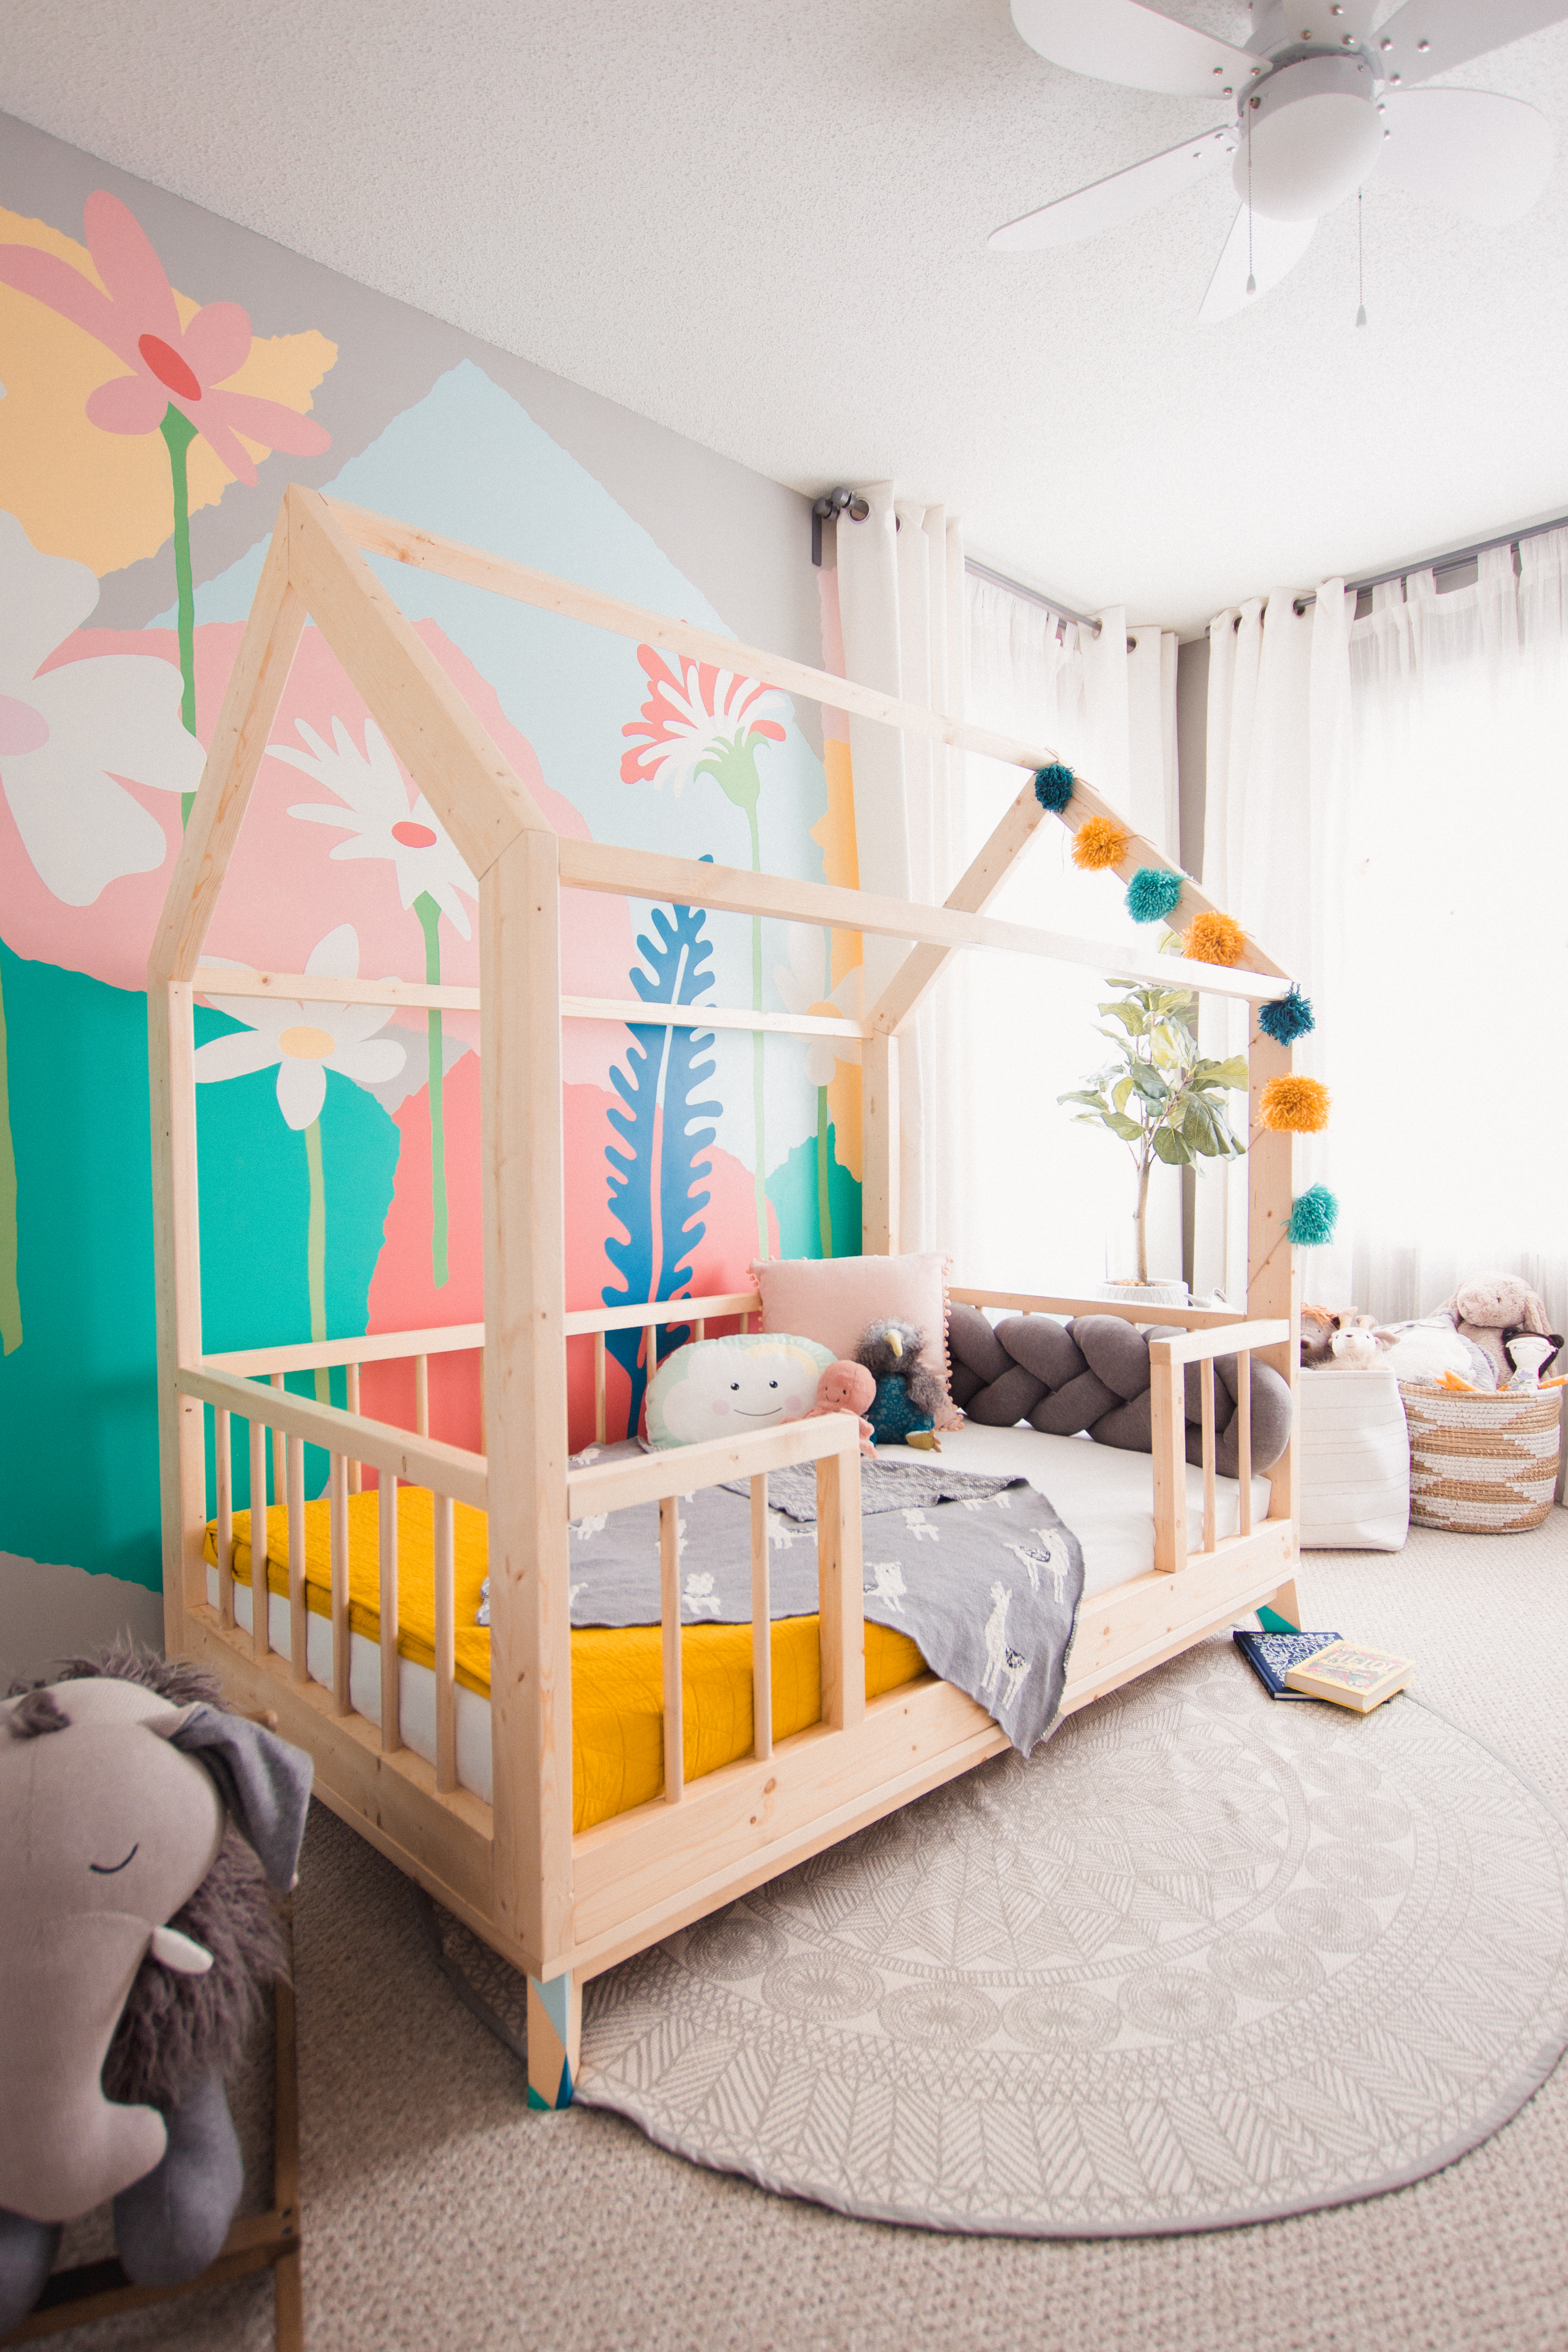
I personally love this type of bed because I spent a lot of hours painting a mural on my daughter’s wall that I didn’t want completely obstructed. I say this because I thought of passing down her brother’s bed and building him some bunk beds but his setup is a little more solid and just didn’t seem to “go” as nicely. Once I decided on the style, it was time to tweak the format a bit, to suit us; I personally don’t like the look of a mattress right on the floor so I wanted ours to be a bit elevated for air flow. Another consideration I had was that I wanted this to fit an extended toddler mattress. I also prefer a thicker structure with smaller supports as opposed to every piece being the same thickness. And lastly, I liked the look of a rail around the perimeter to keep blankets and pillows contained as well as make the transition from crib to bed a little more comfortable and less…completely open since my daughter is only 18 months old.
Next, I needed to mull over the technical aspect; I wanted this bed to be fairly easy to take apart (no more than 5 pieces) and I wanted minimally visible screws, just like my son’s bed. I went to the IKEA website, as is tradition, and chose the mattress I wanted and in about an hour, I had the design laid out to scale, with a shopping list and a cut list in hand!

This bed was pretty straightforward to make with the right tools. We used a mitre saw, a drill press and a Kreg jig. I’m sure there are fancier ways of building this but with only one bed under our belts, I think we’re still considered hobbyists and so our tools are still pretty entry level. Anyway, if you want to follow the DIY and build one yourself, our instructions are HERE! Otherwise, here are some more photos of our daughter’s big girl bed!

I also enjoyed incorporating details, such as the feet, to tie everything together. Since her mural is pretty bright and colourful, we opted out of painting the entire frame. I happen to like the warmth of wood and since there is no definitive way of permanently sealing knots, I didn’t want to risk being disappointed down the road when they started to bleed through. So we pulled some colours from her mural and accented the feet before sealing the entire bed.


I absolutely adore this bed! Charlie sure enjoyed helping us. We had her sign it so that when she’s older, she will know that she was apart of it from start to finish! We thought about waiting to let her sleep in it but shortly after it was assembled in her room, she took her first nap in it and she’s been sleeping in it for a week now! We’re all so excited (and slightly jealous) of her!

Can I also add that with the oversized flowers on her wall and the little house bed, her room looks like a little fairy garden!


Again, if you decide to take the plunge and build your own, the DIY is up on Reddit to follow along. Don’t hesitate to message us with your questions, feedback, and/or photos! We love hearing from you!


Beautiful bed for a beautiful girl!
LikeLike
very very very nice!)
LikeLike